You can change the name of your restaurant at simplyorder.ch/dashboard/settings
Click in the text field with the heading "Restaurant name" which is located directly below the "Select image" field.
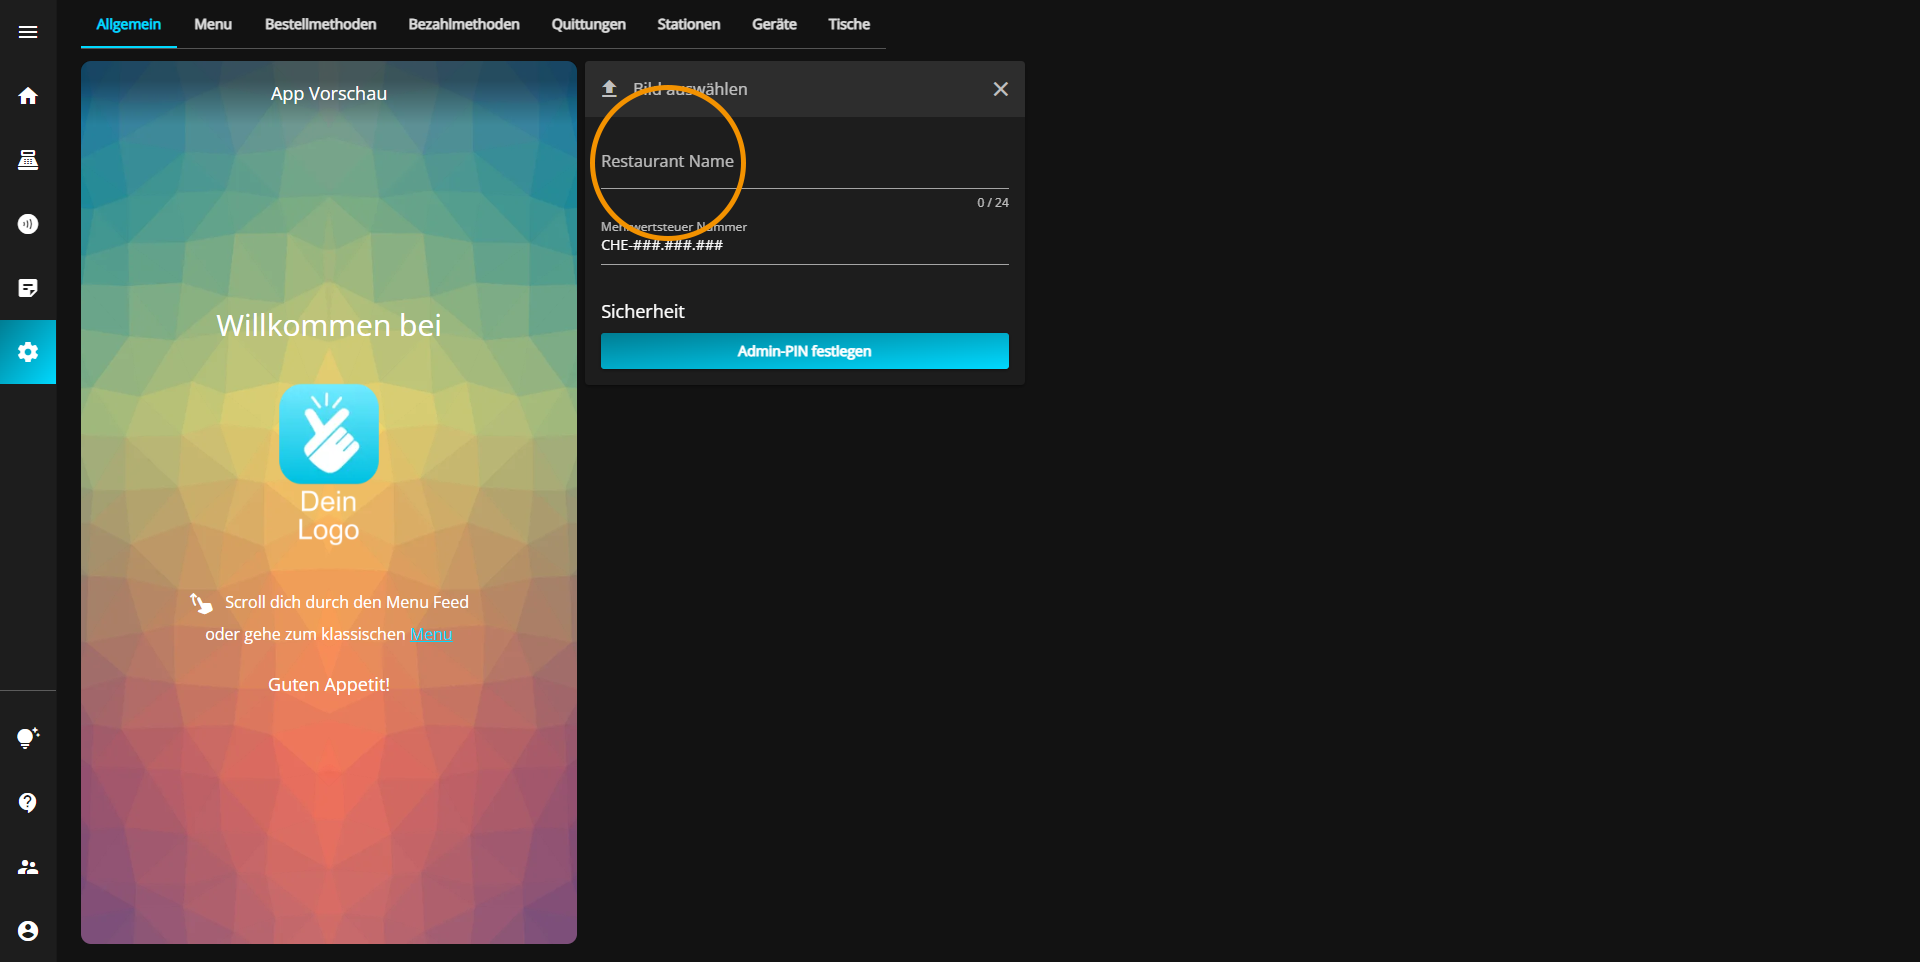
Now you can write the desired name of your restaurant into the field.
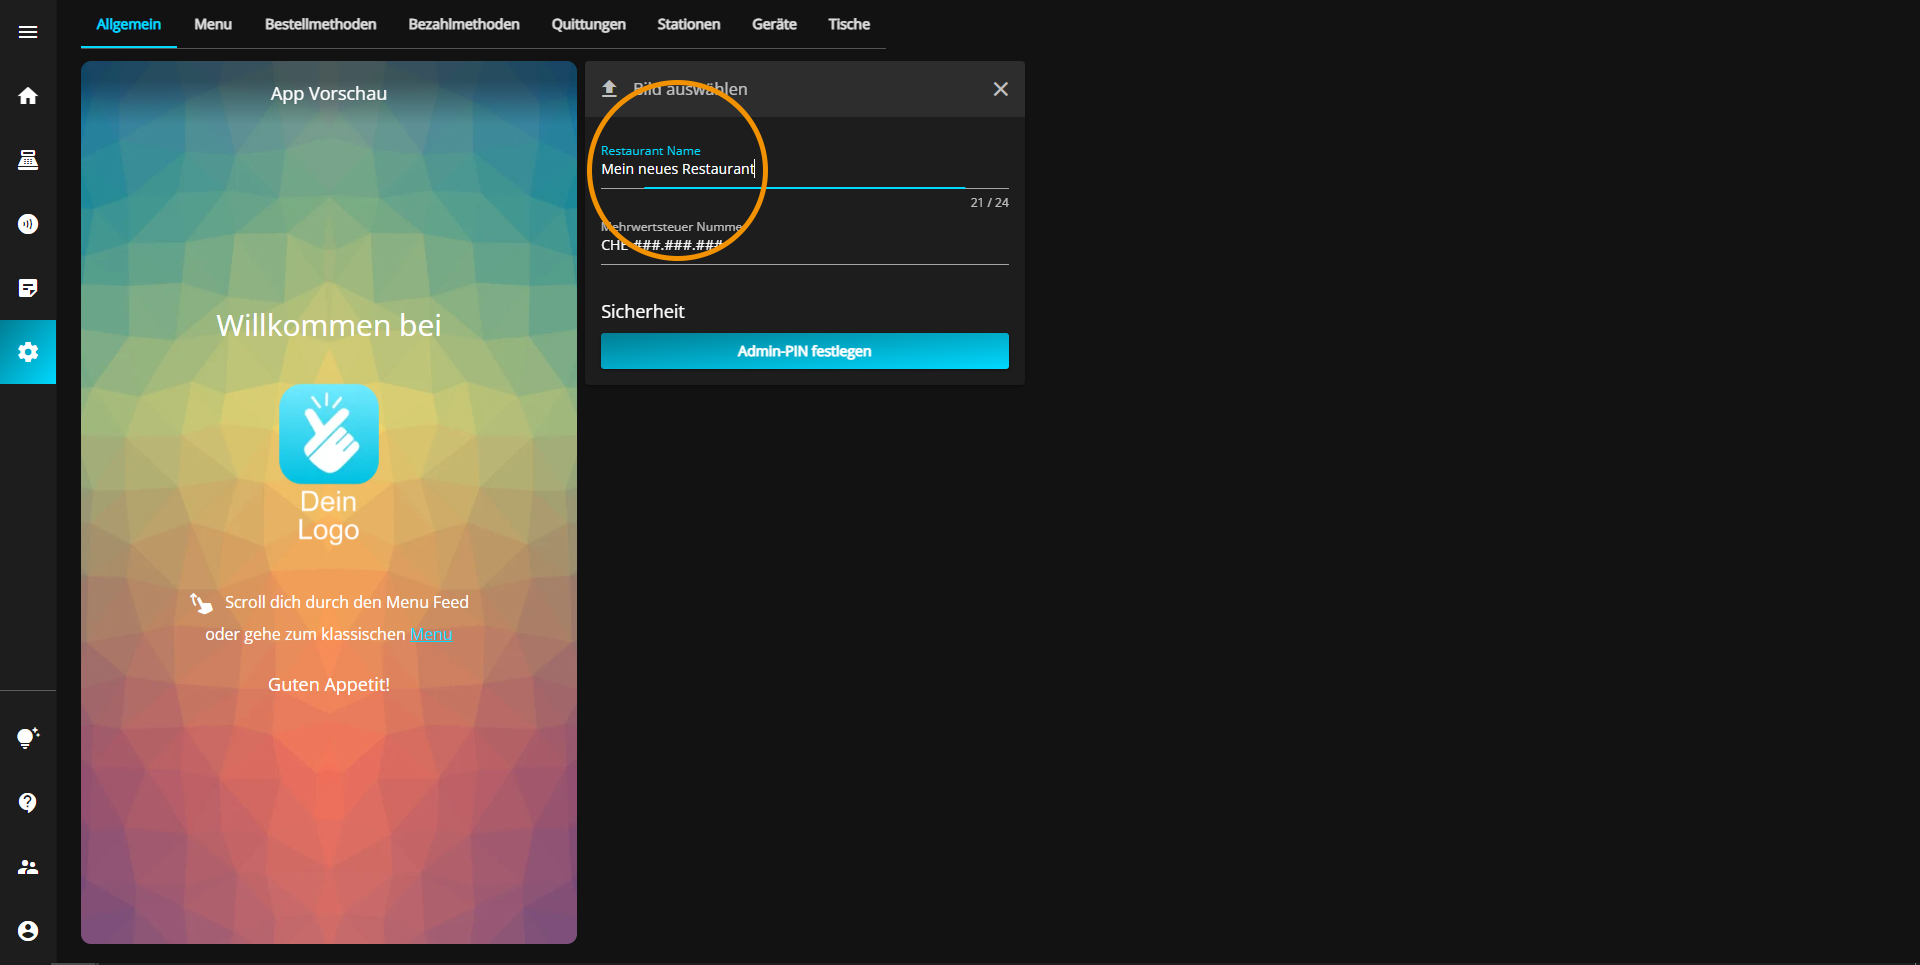
After you finished typing, the name of your restaurant will be automatically safed.
You can add an image for your restaurant at simplyorder.ch/dashboard/settings or change the already existing one.
Click on the "Select image" field located directly above the restaurant name.
Choose the desired Image you want to upload.
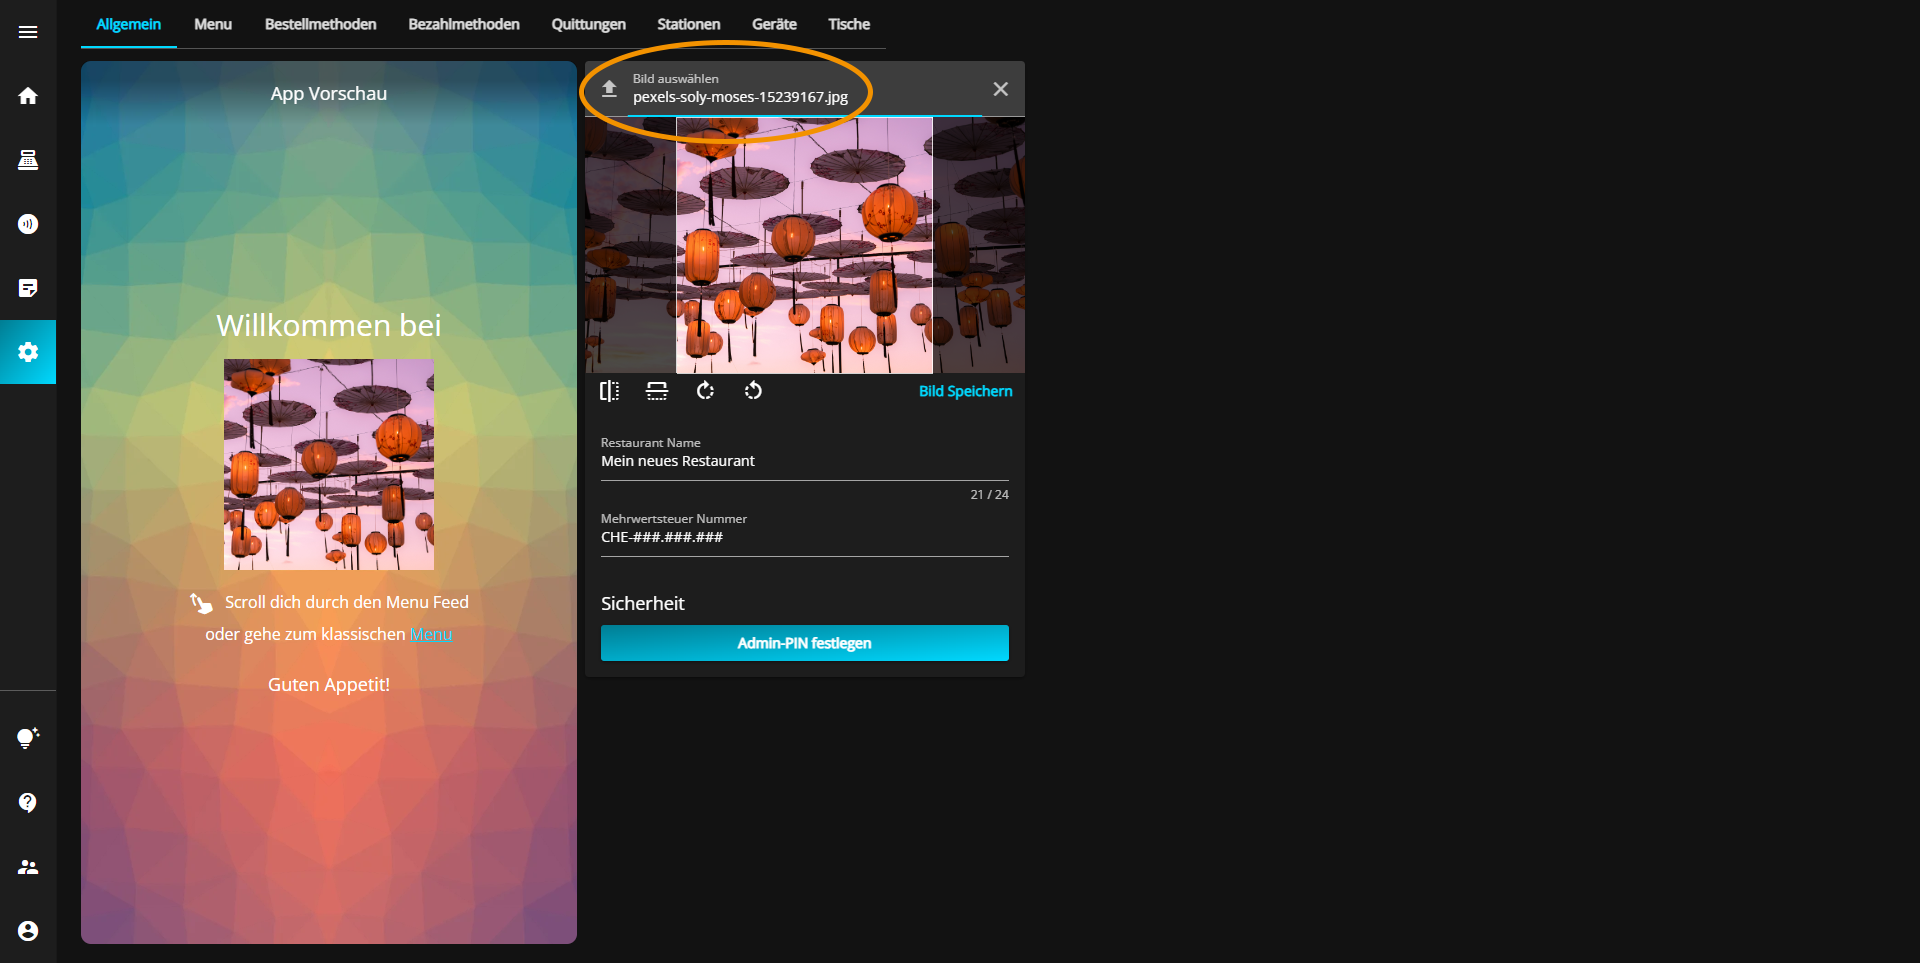
Now you can move the image freely. You can also flip it vertically or horizontally by pressing the respective buttons.
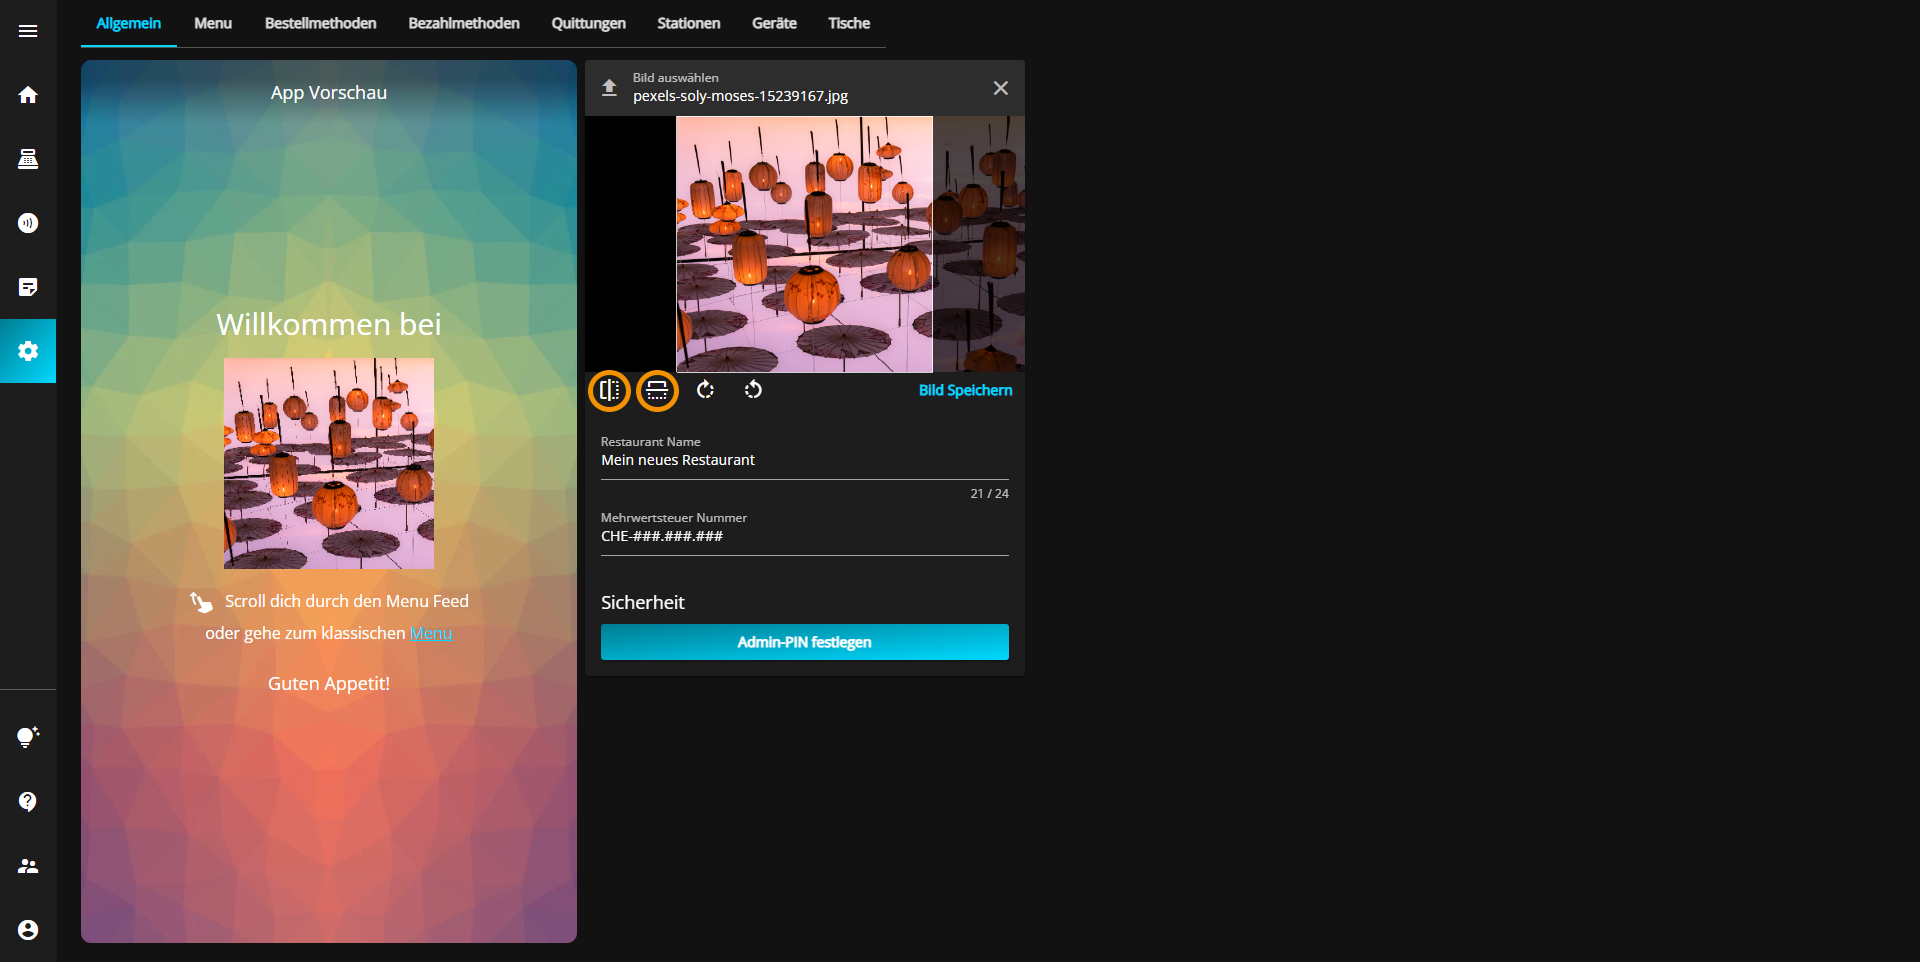
Besides, you can rotate the image to the left or right by pressing one of the arrow buttons.

Last but not least, you can zoom in on the image by turning the mouse wheel forward or zoom out of the image by turning the mouse wheel backward.
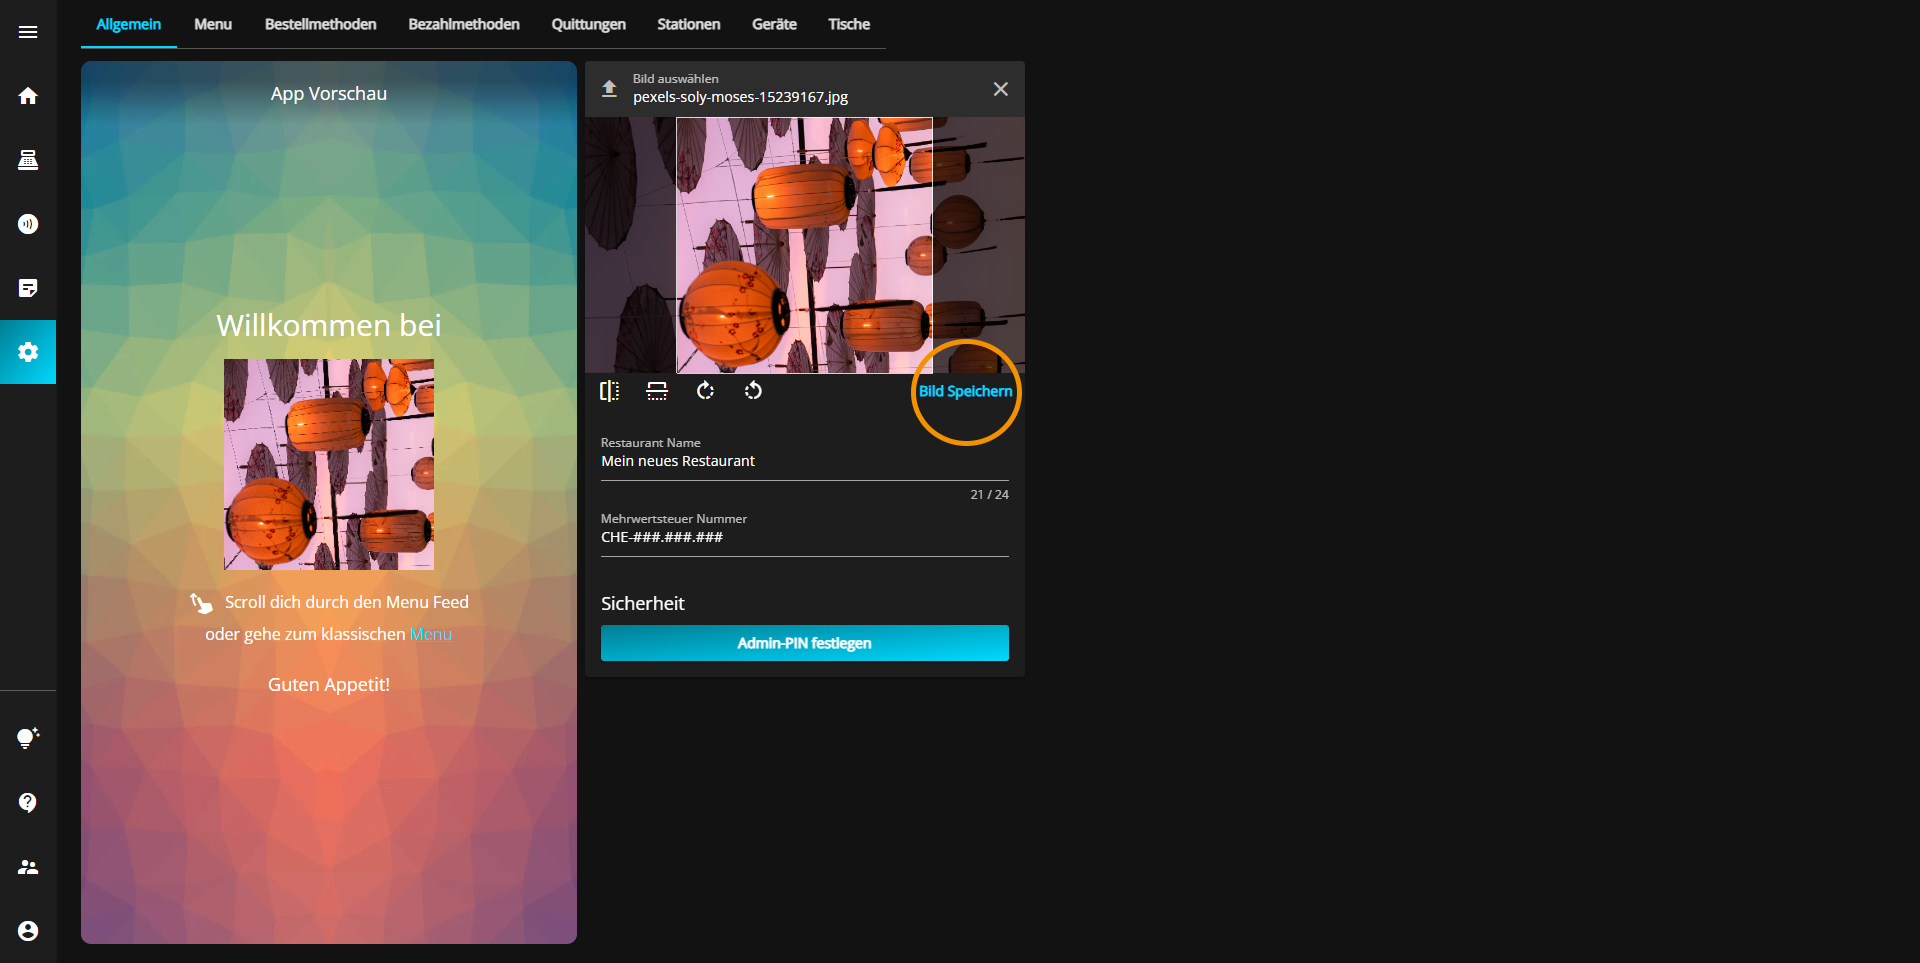
After you have set everything according to your preferences, click on the "Save image" button to save your image.
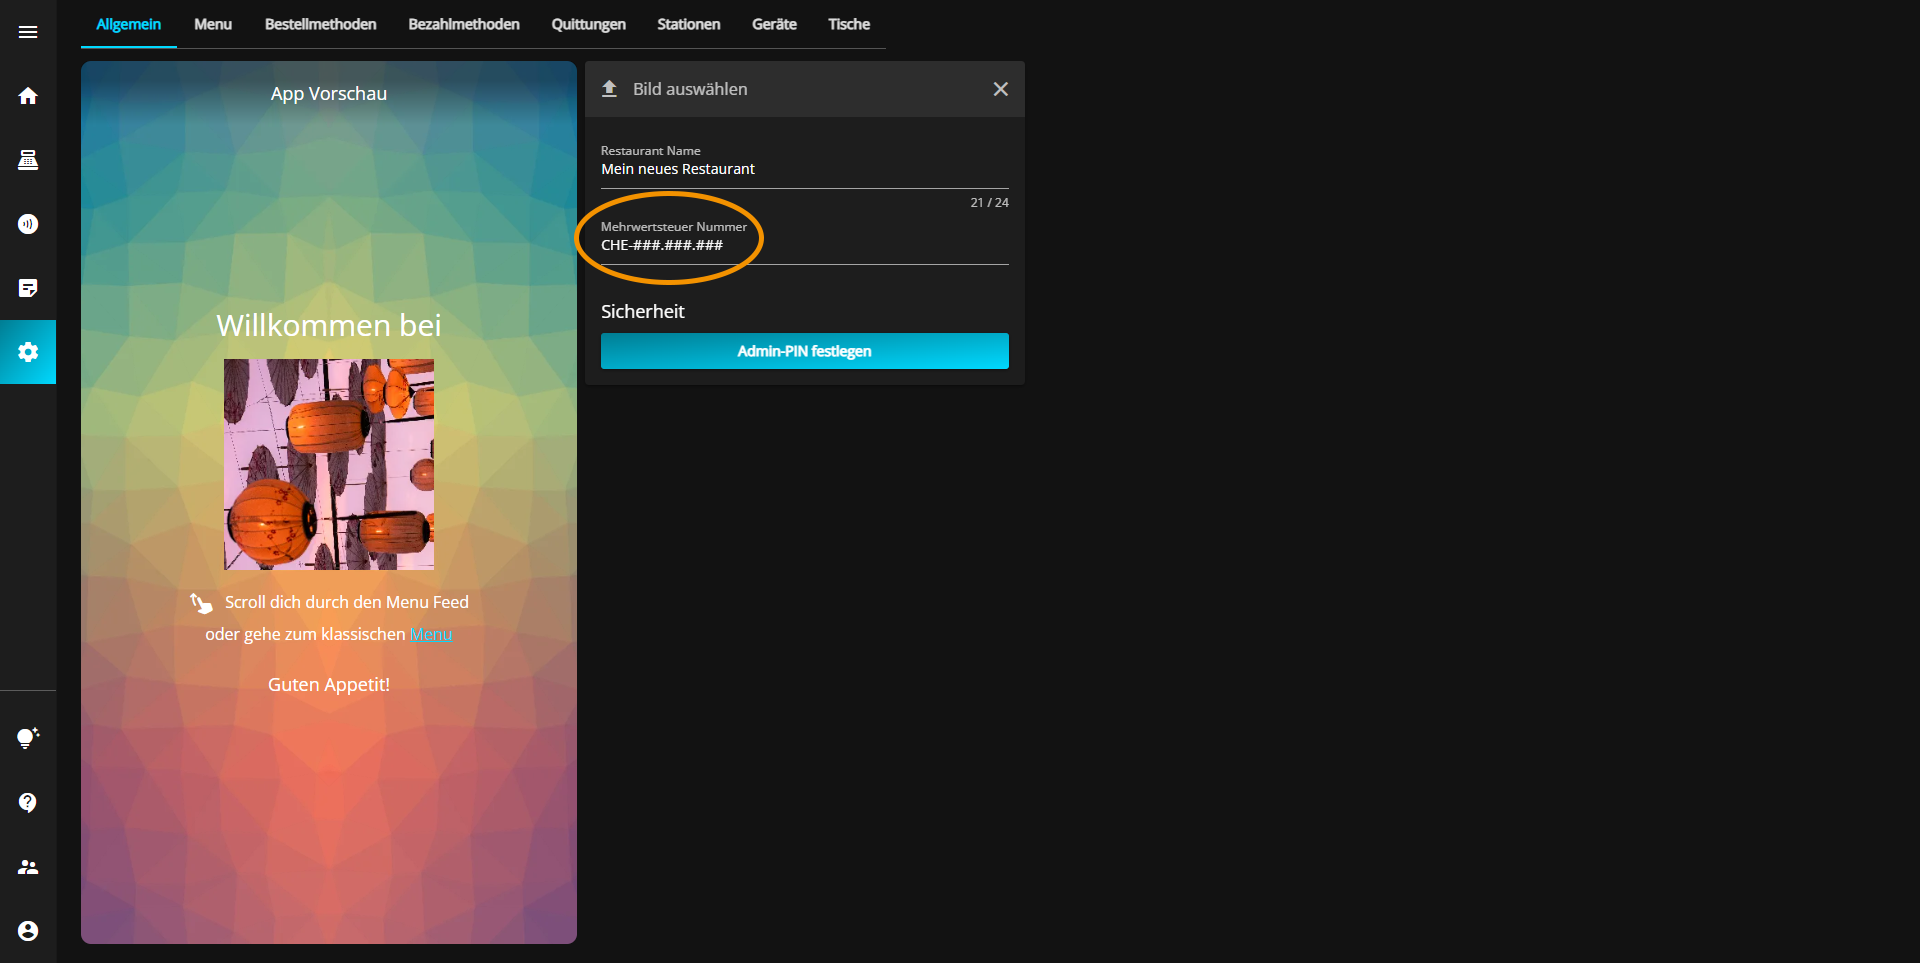
You can change the VAT number of your restaurant at simplyorder.ch/dashboard/settings
Click in the field with the heading "VAT number" which is located directly under the restaurant name.
Now enter the desired VAT number.
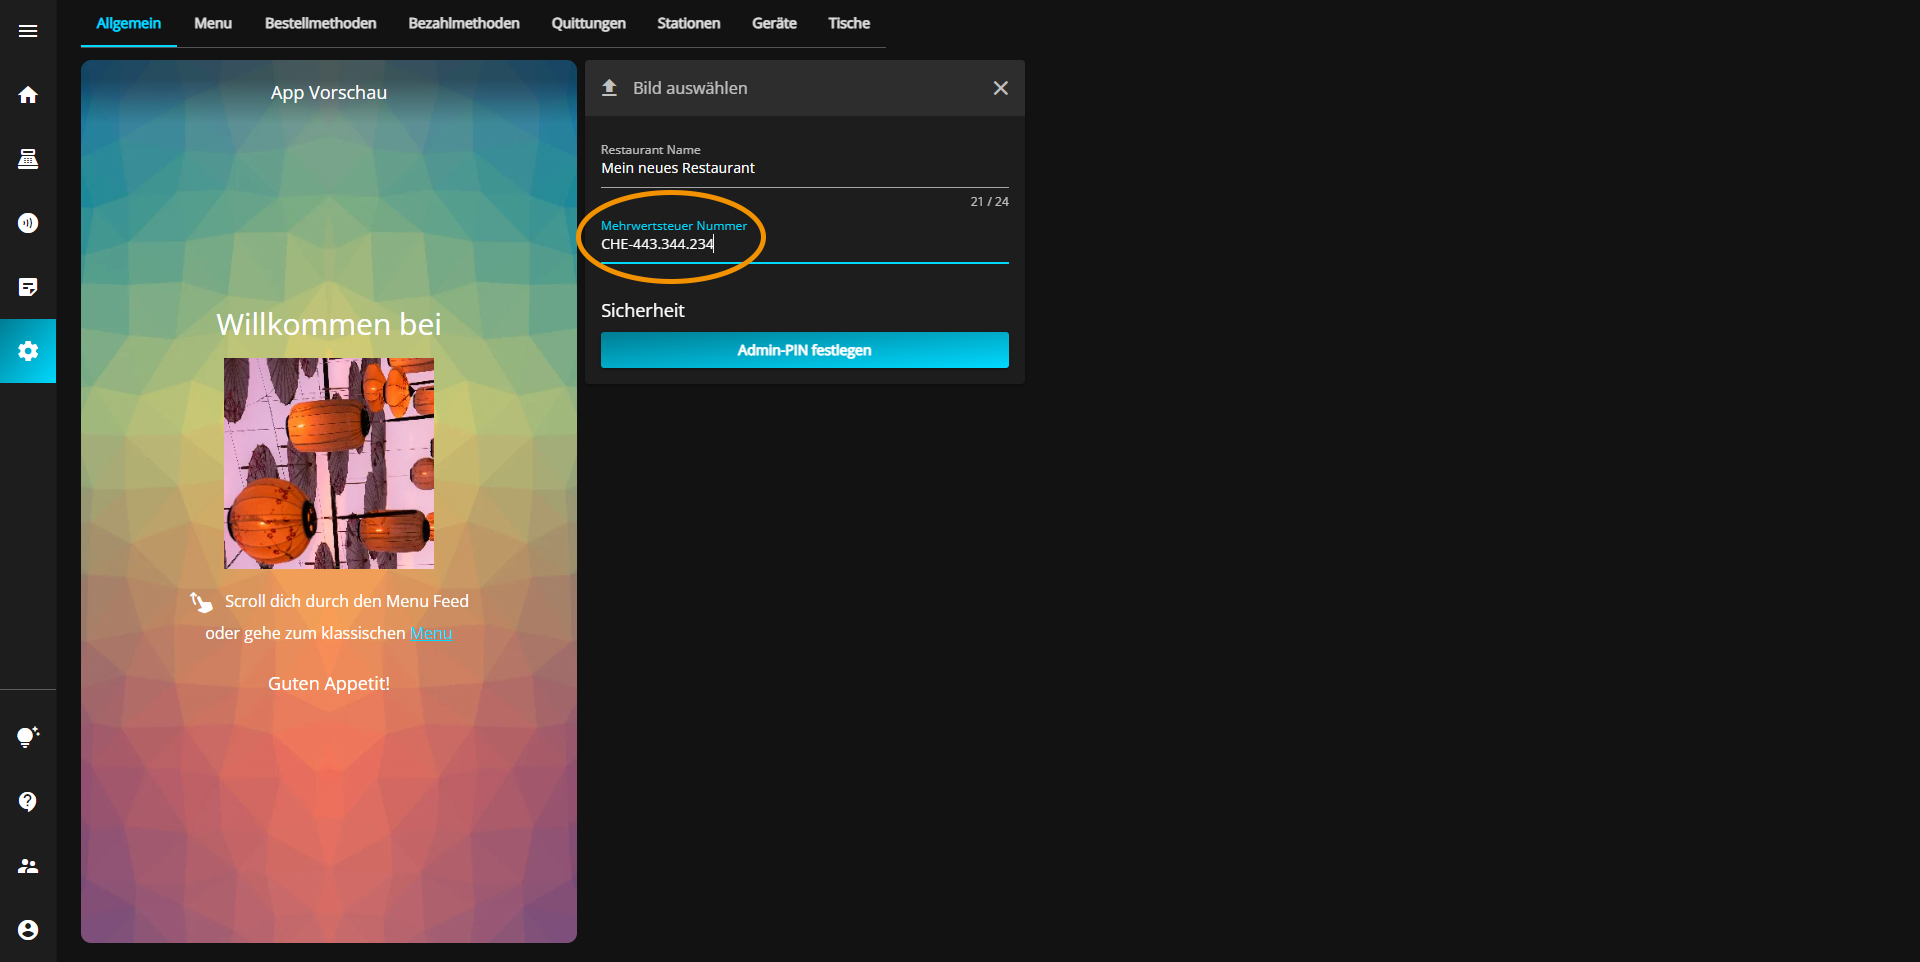
The number is automatically saved in the correct format.
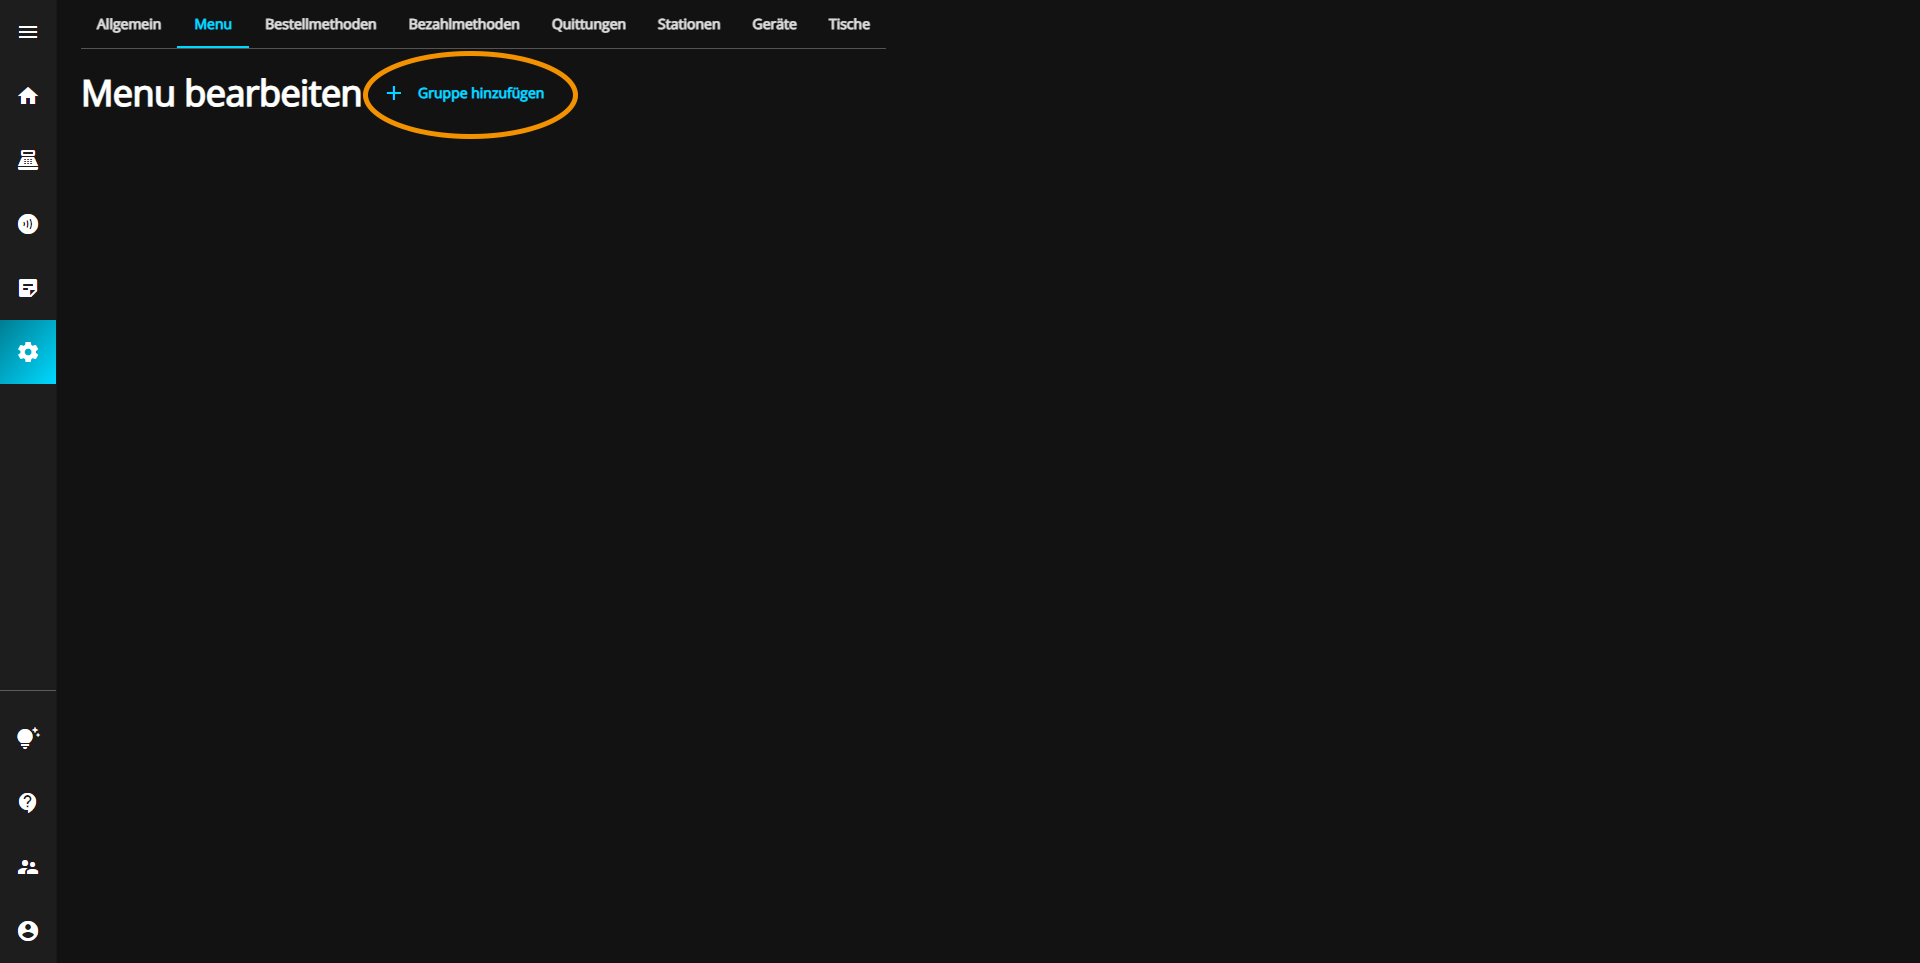
You can add a new menu group under simplyorder.ch/dashboard/settings/menu
Click on the "Add group" button.
A new menu group appears. You can view and edit more options of your menu group by clicking on the pencil located directly to the right of the new group.
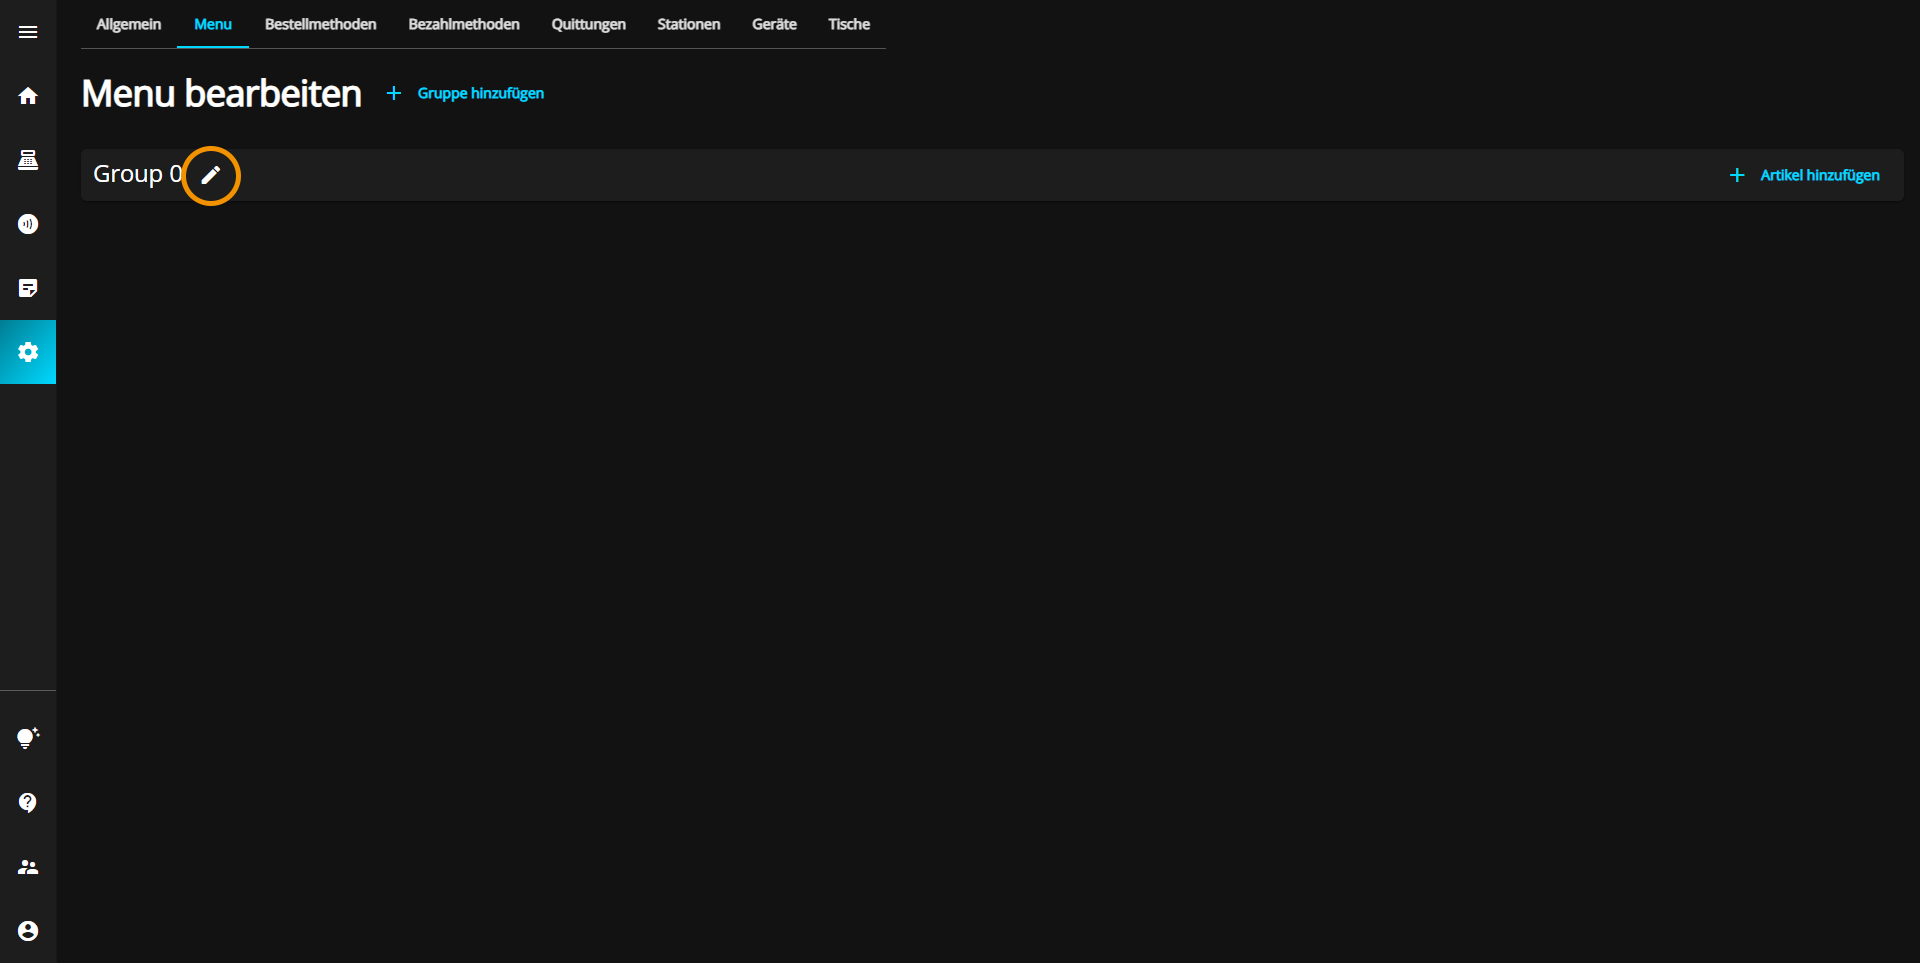
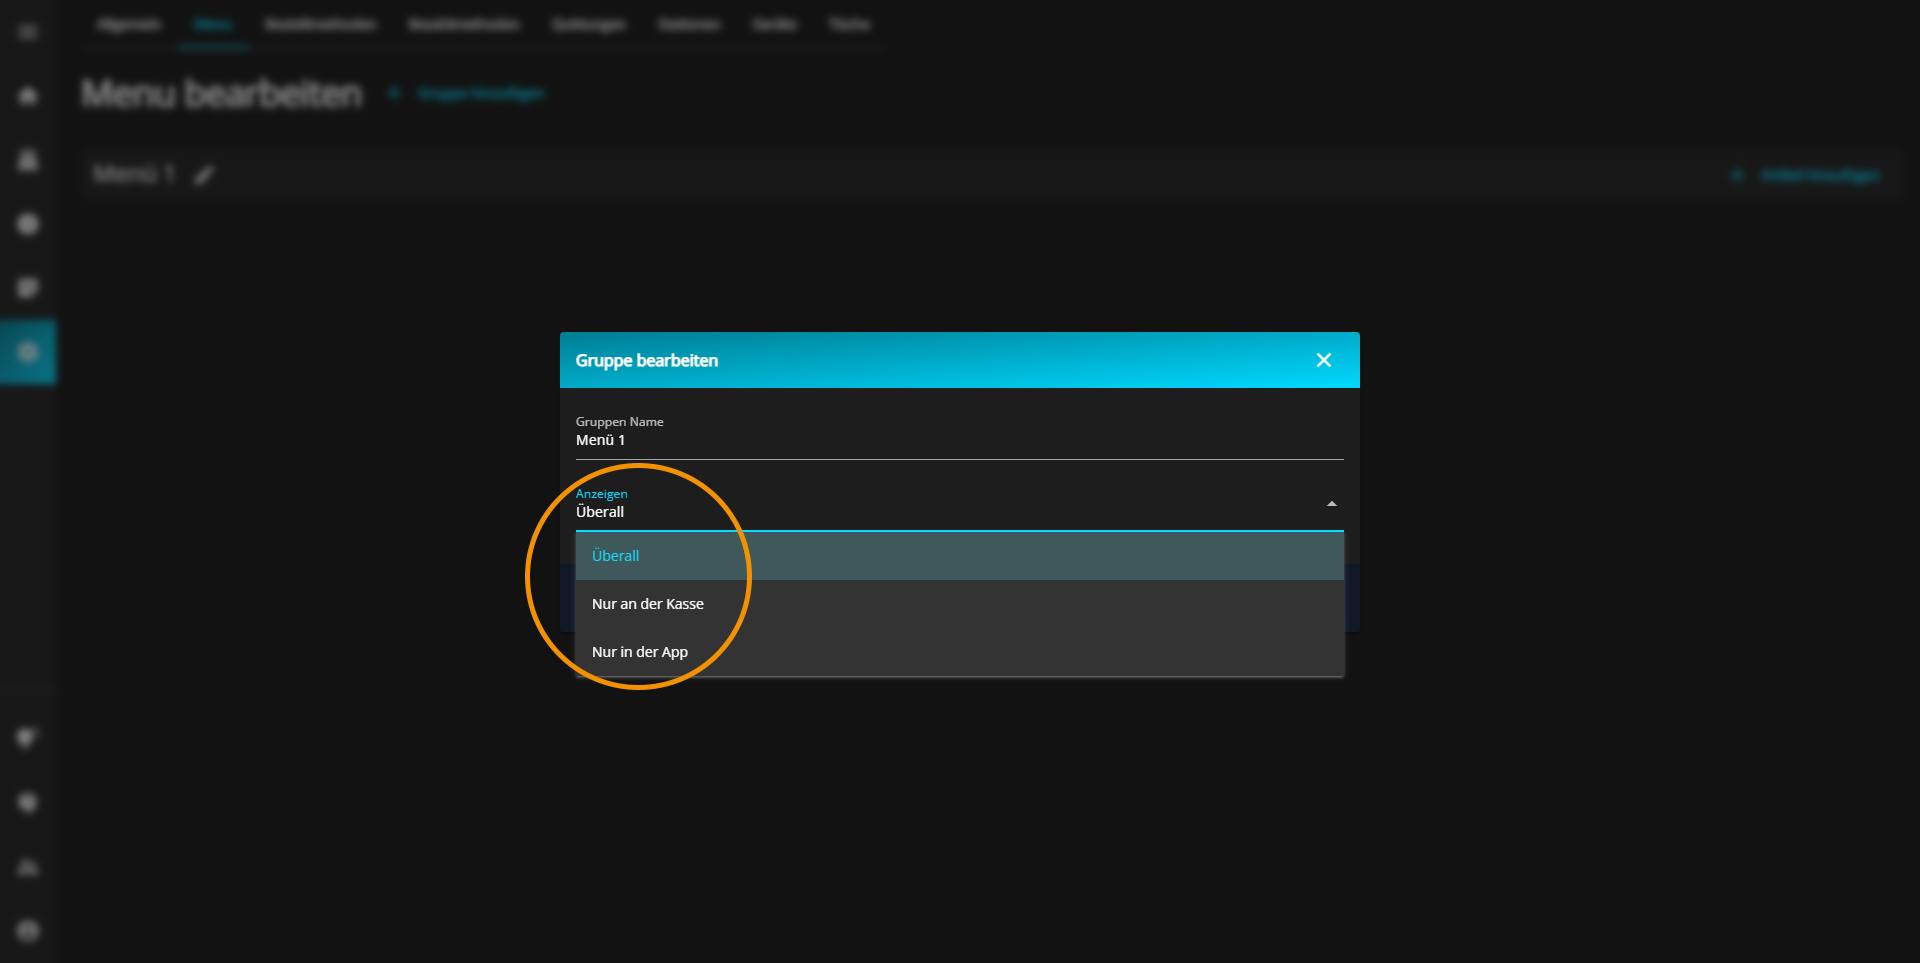
Now click in the new menu group, in the "Group Name" textbox and enter the desired group name.

After you have entered the name, you still have to select whether the menu group should be visible exclusively on the cash register, only in the app or both on the cash register and in the app.
Click the "Show" drop-down menu and select the preferred option.
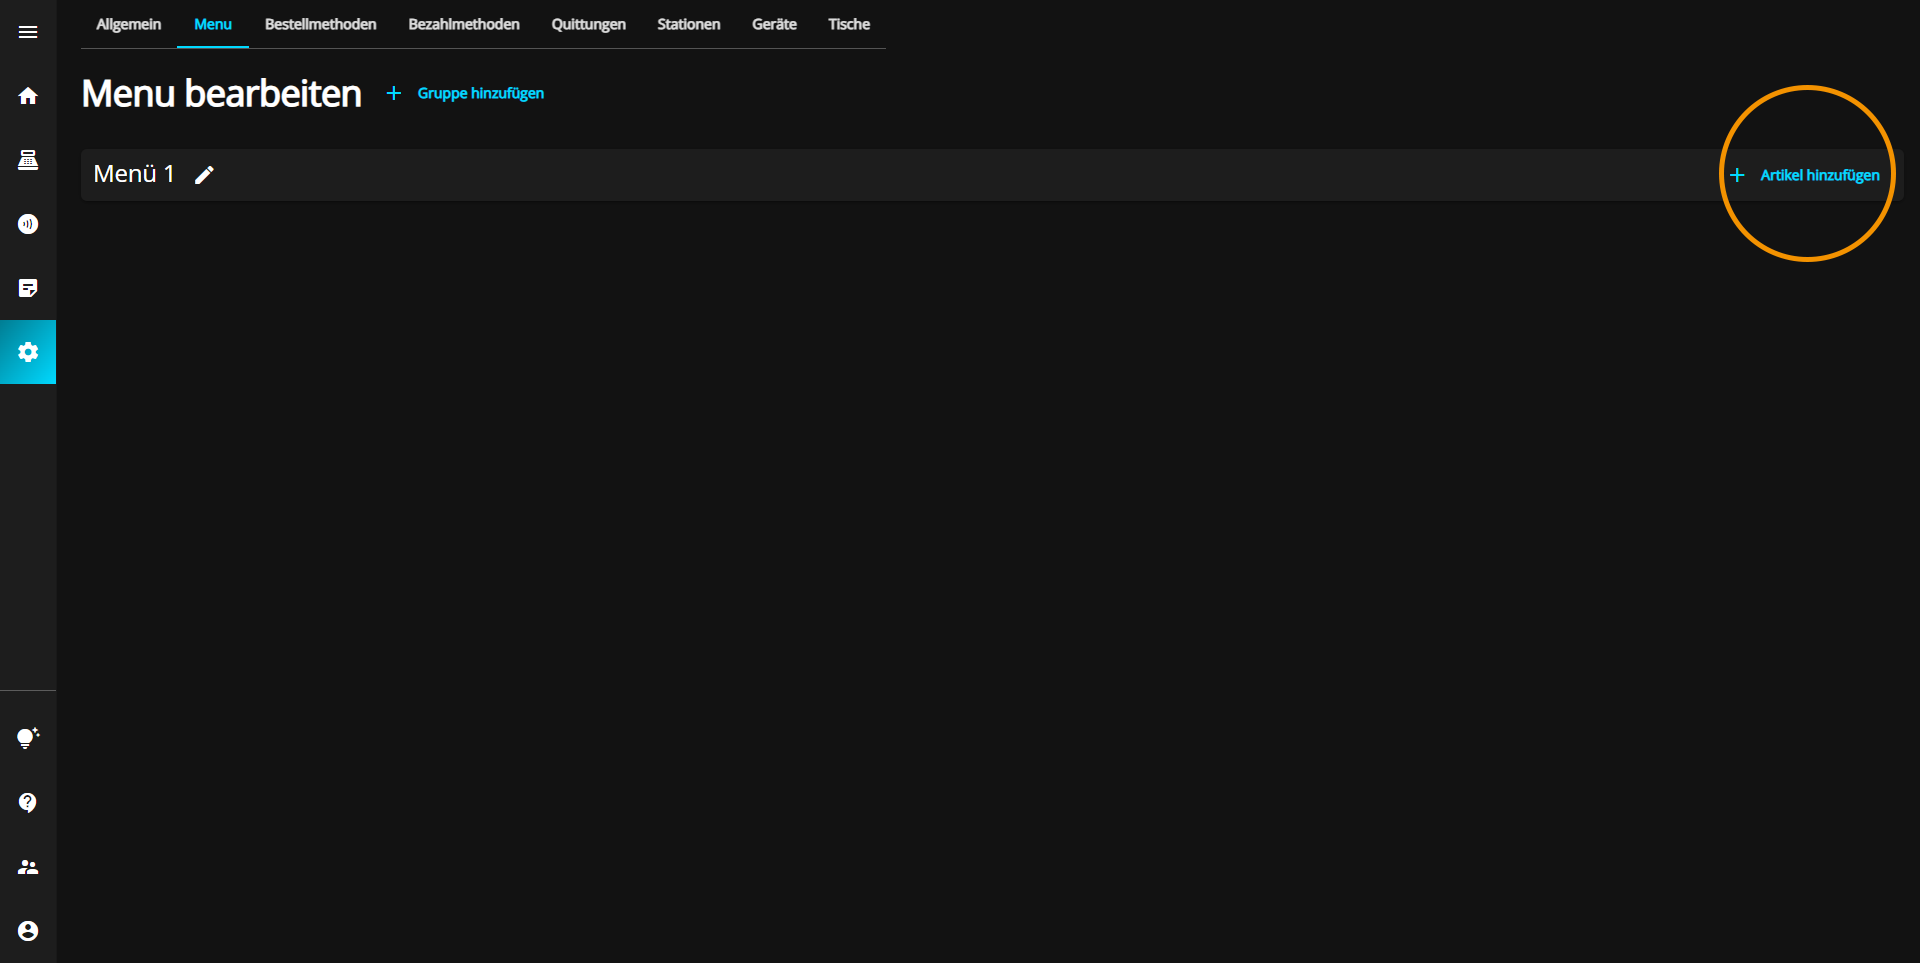
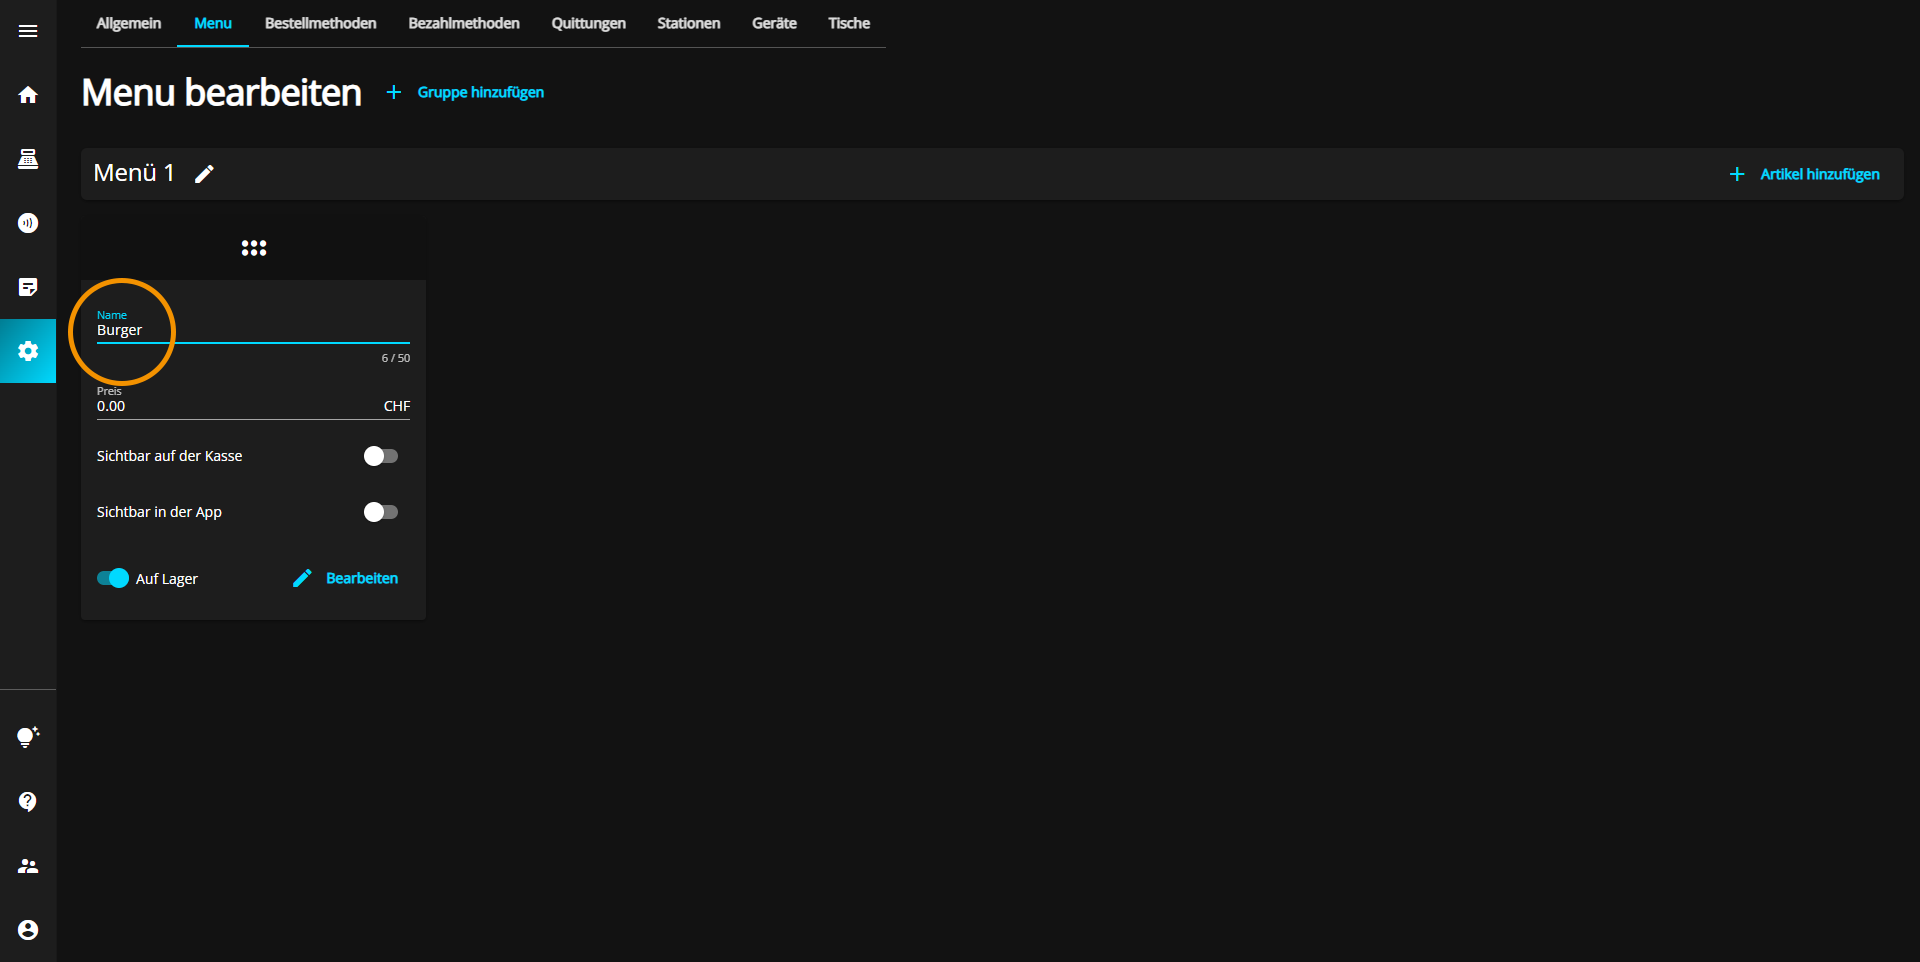
You can add content to their menus at simplyorder.ch/dashboard/settings/menu
Click on the "Add item" button.
A new item will appear directly under the selected menu group.

To choose a name or change the existing name of the item click in the "Name" text field and enter the desired item name.
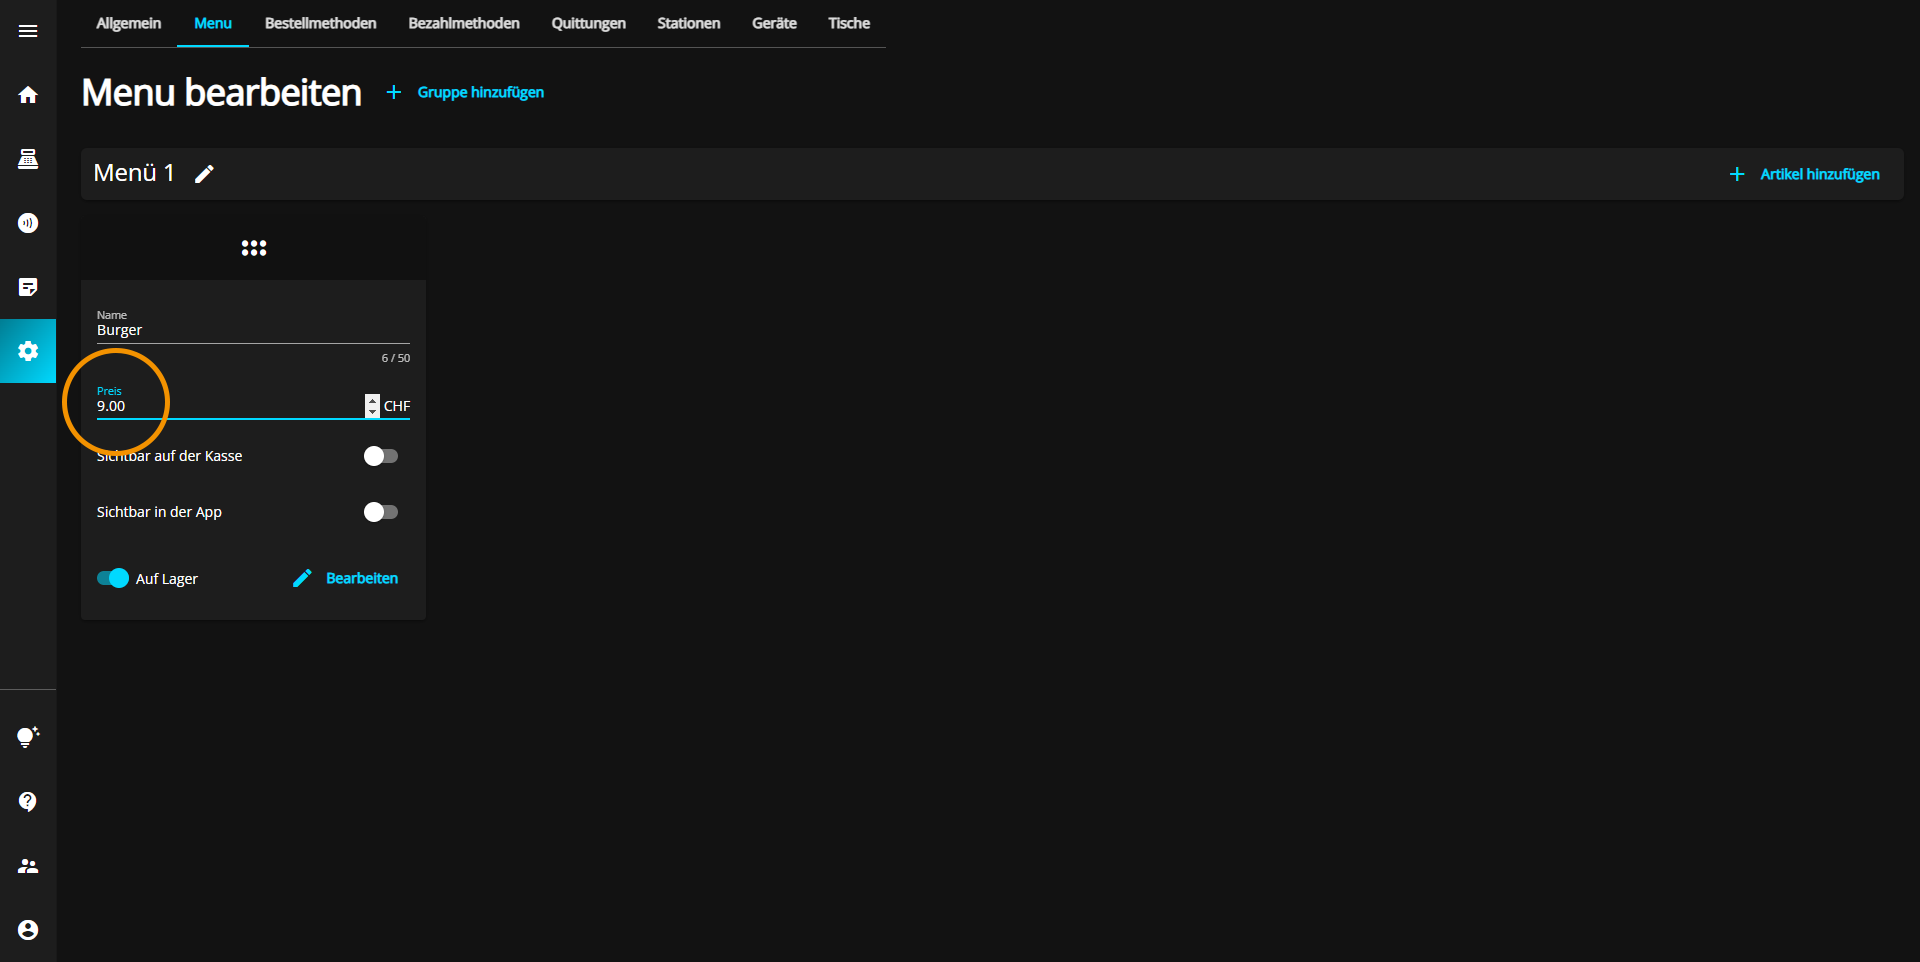
Below the name, you can enter the price of the product by clicking in the "Price" text box and then entering the value of the item.
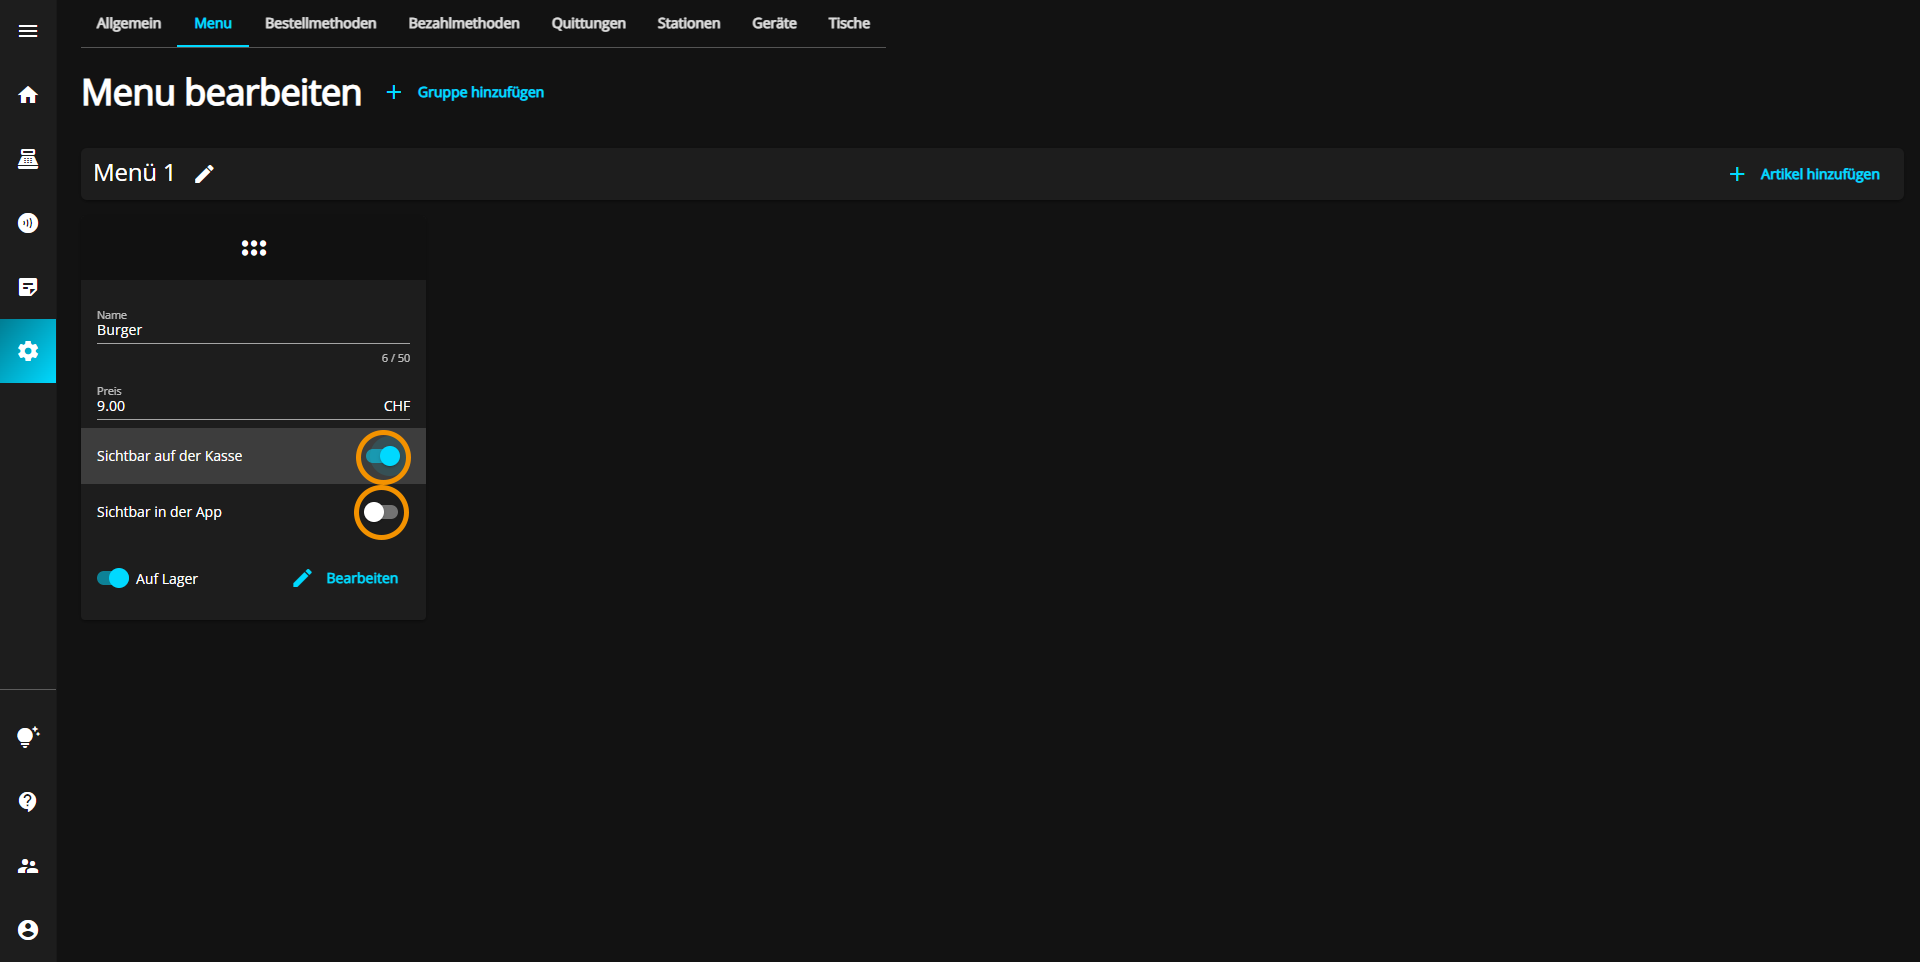
Furthermore, you can decide whether the selected product should be visible on the cash register, in the app or on both devices.
To do this, simply click on the desired radio buttons which are displayed in gray to activate the setting, or on the buttons which are displayed in blue to deactivate the setting.
Last but not least, you can set whether the item is in stock by clicking on the blue button at the bottom left of the item depending on the availability of the product.
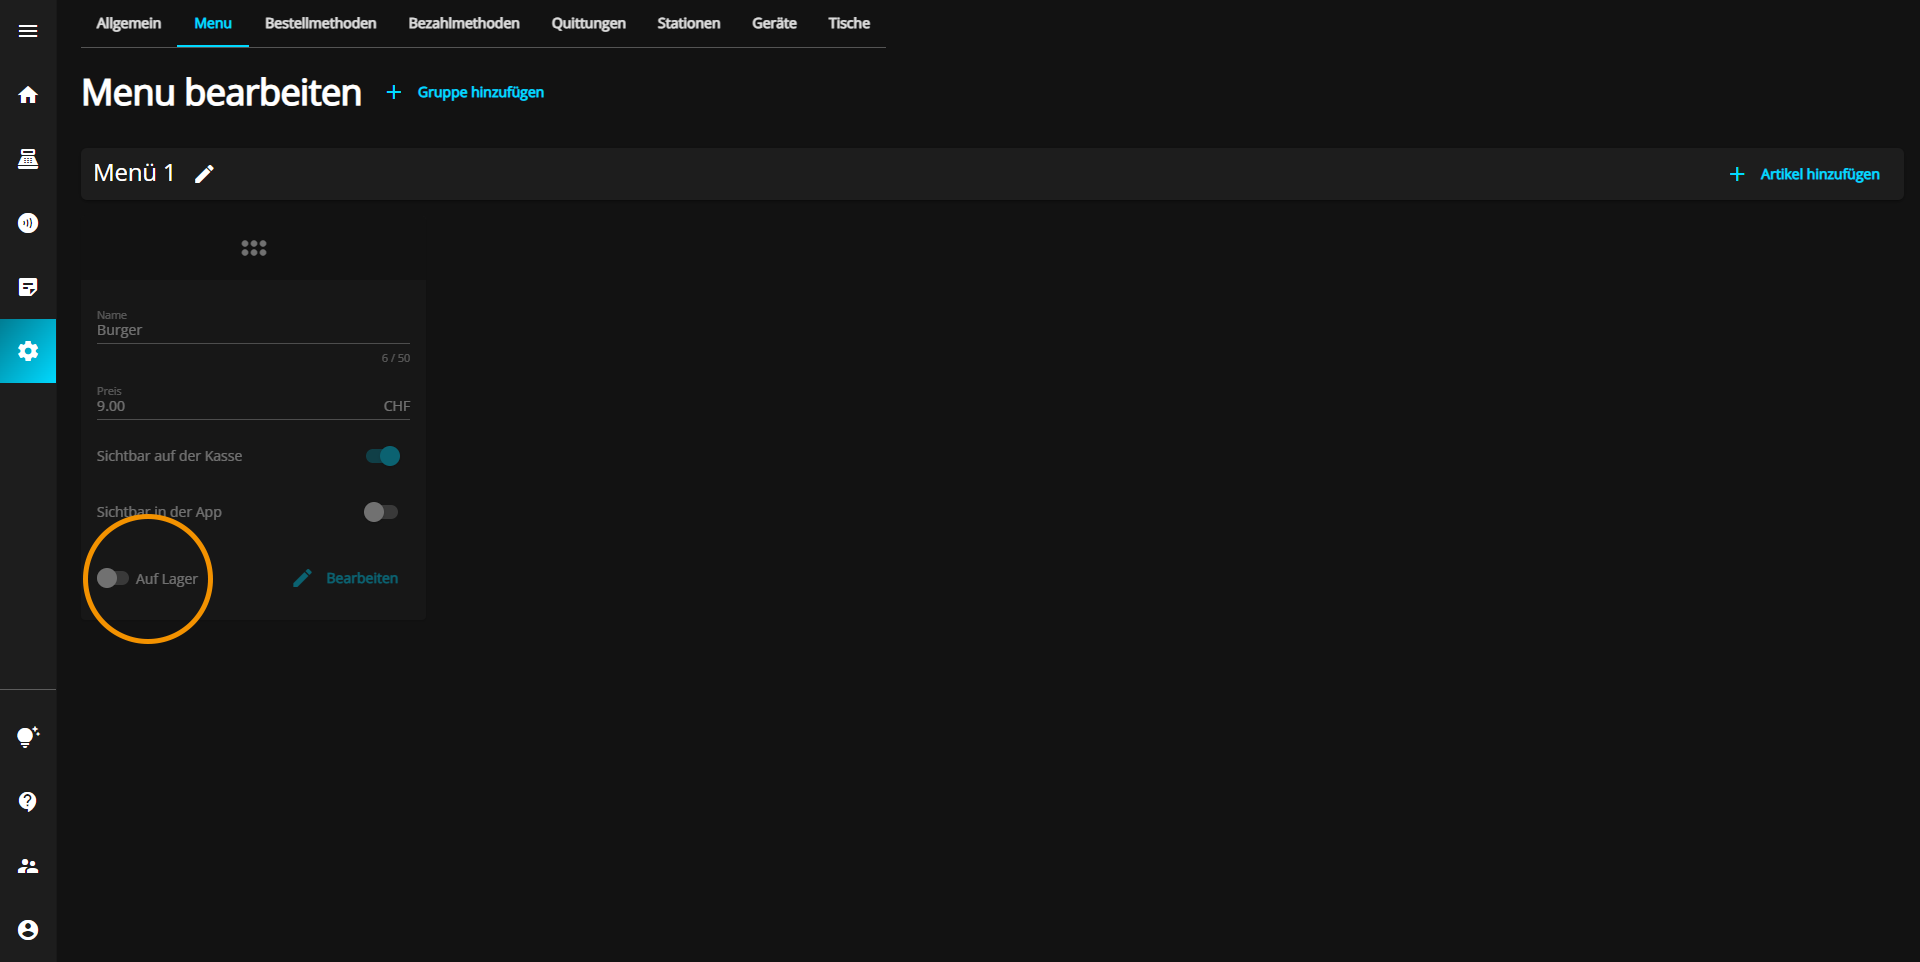
If an item is set as "Out of stock", the entire window of the item will be displayed as disabled.
