You can change the settings for active receipt layouts at the table at simplyorder.ch/dashboard/settings/recepits
The first option you have for your receipt layout is to define an image or logo for the receipt header.
To do this, click on "Select image".

Now select the desired image to upload it.
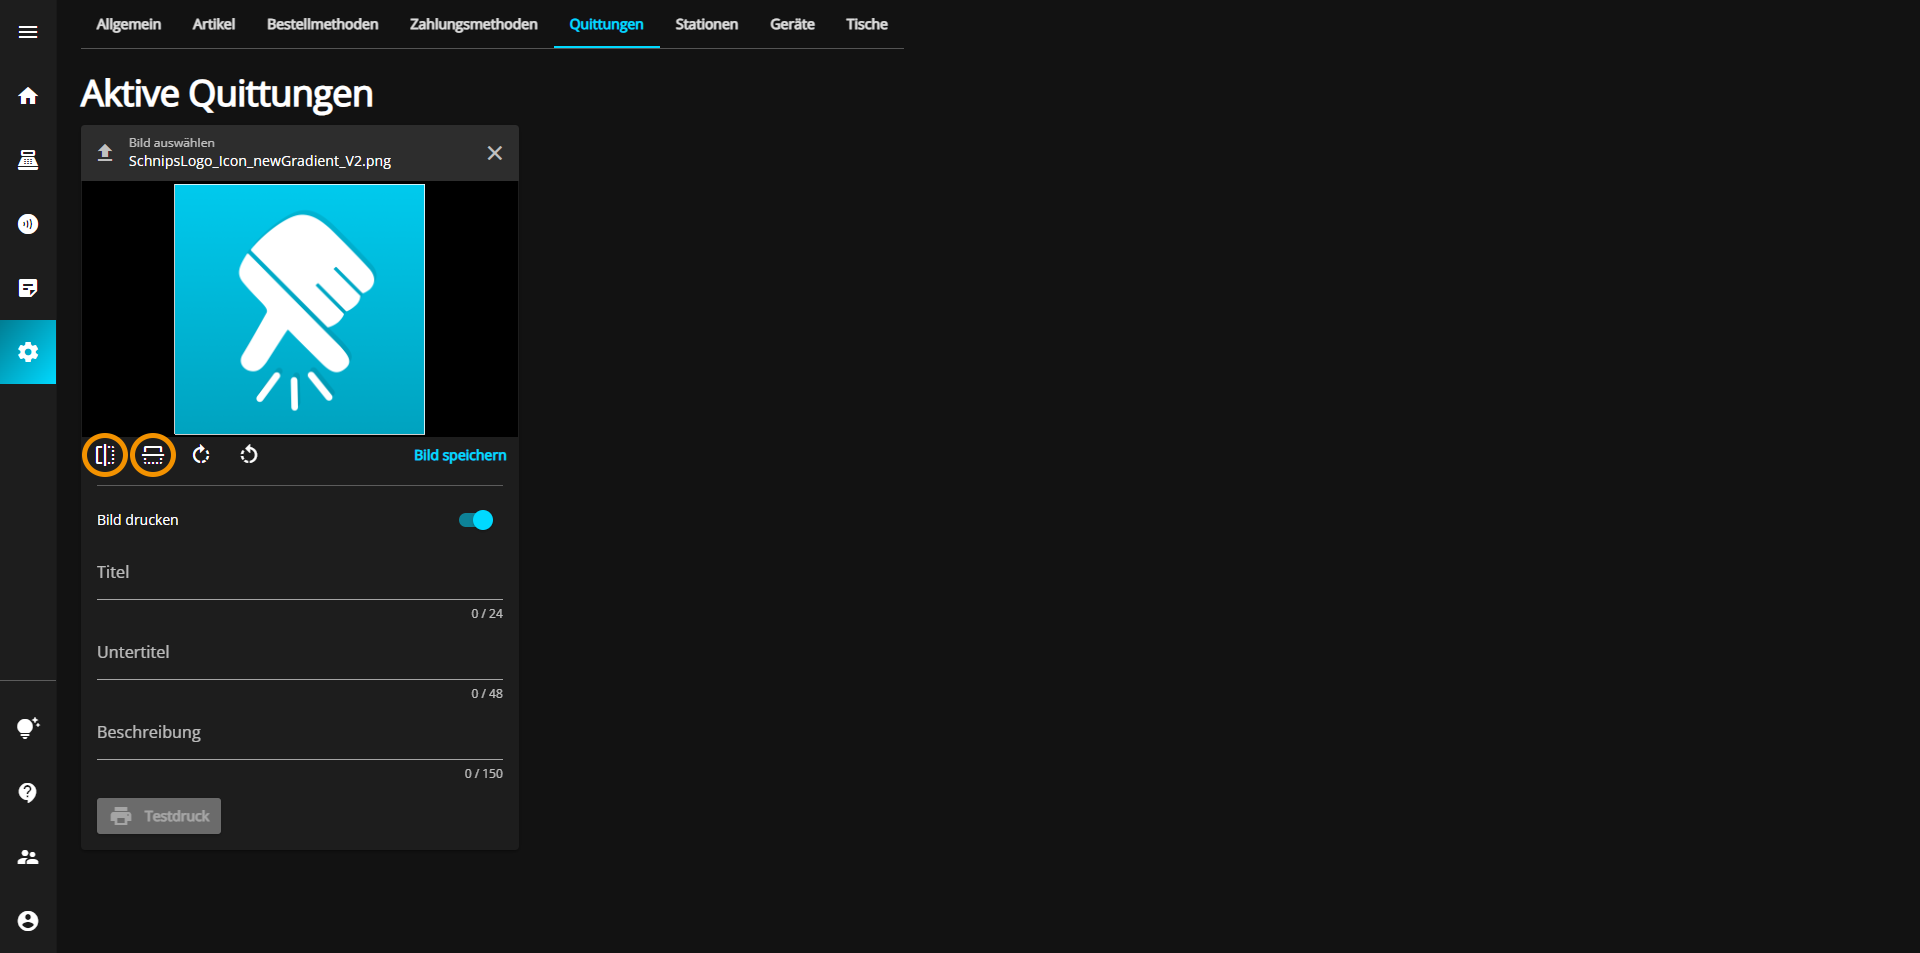
Now you can move the image as you wish. You can also flip the whole thing vertically or horizontally by clicking on the respective buttons.
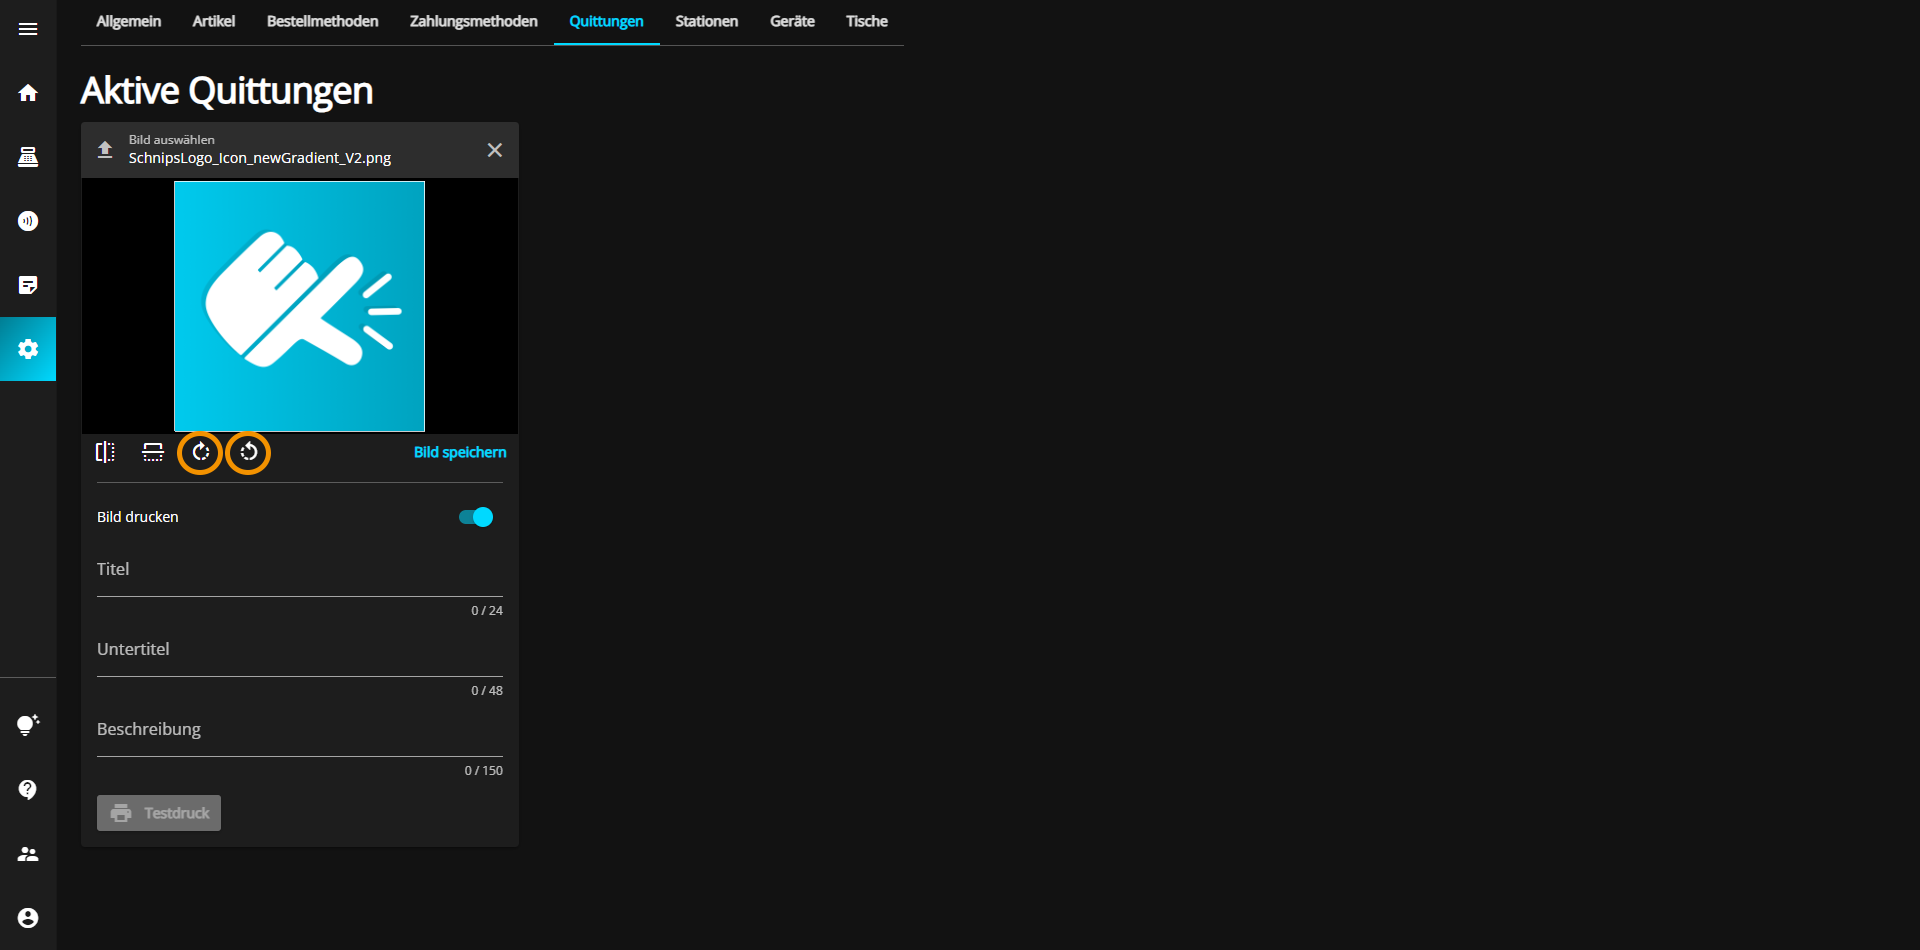
You can also rotate the image to the left or right by pressing one of the following buttons.
Last but not least, you can zoom in on the image by turning the mouse wheel forwards.
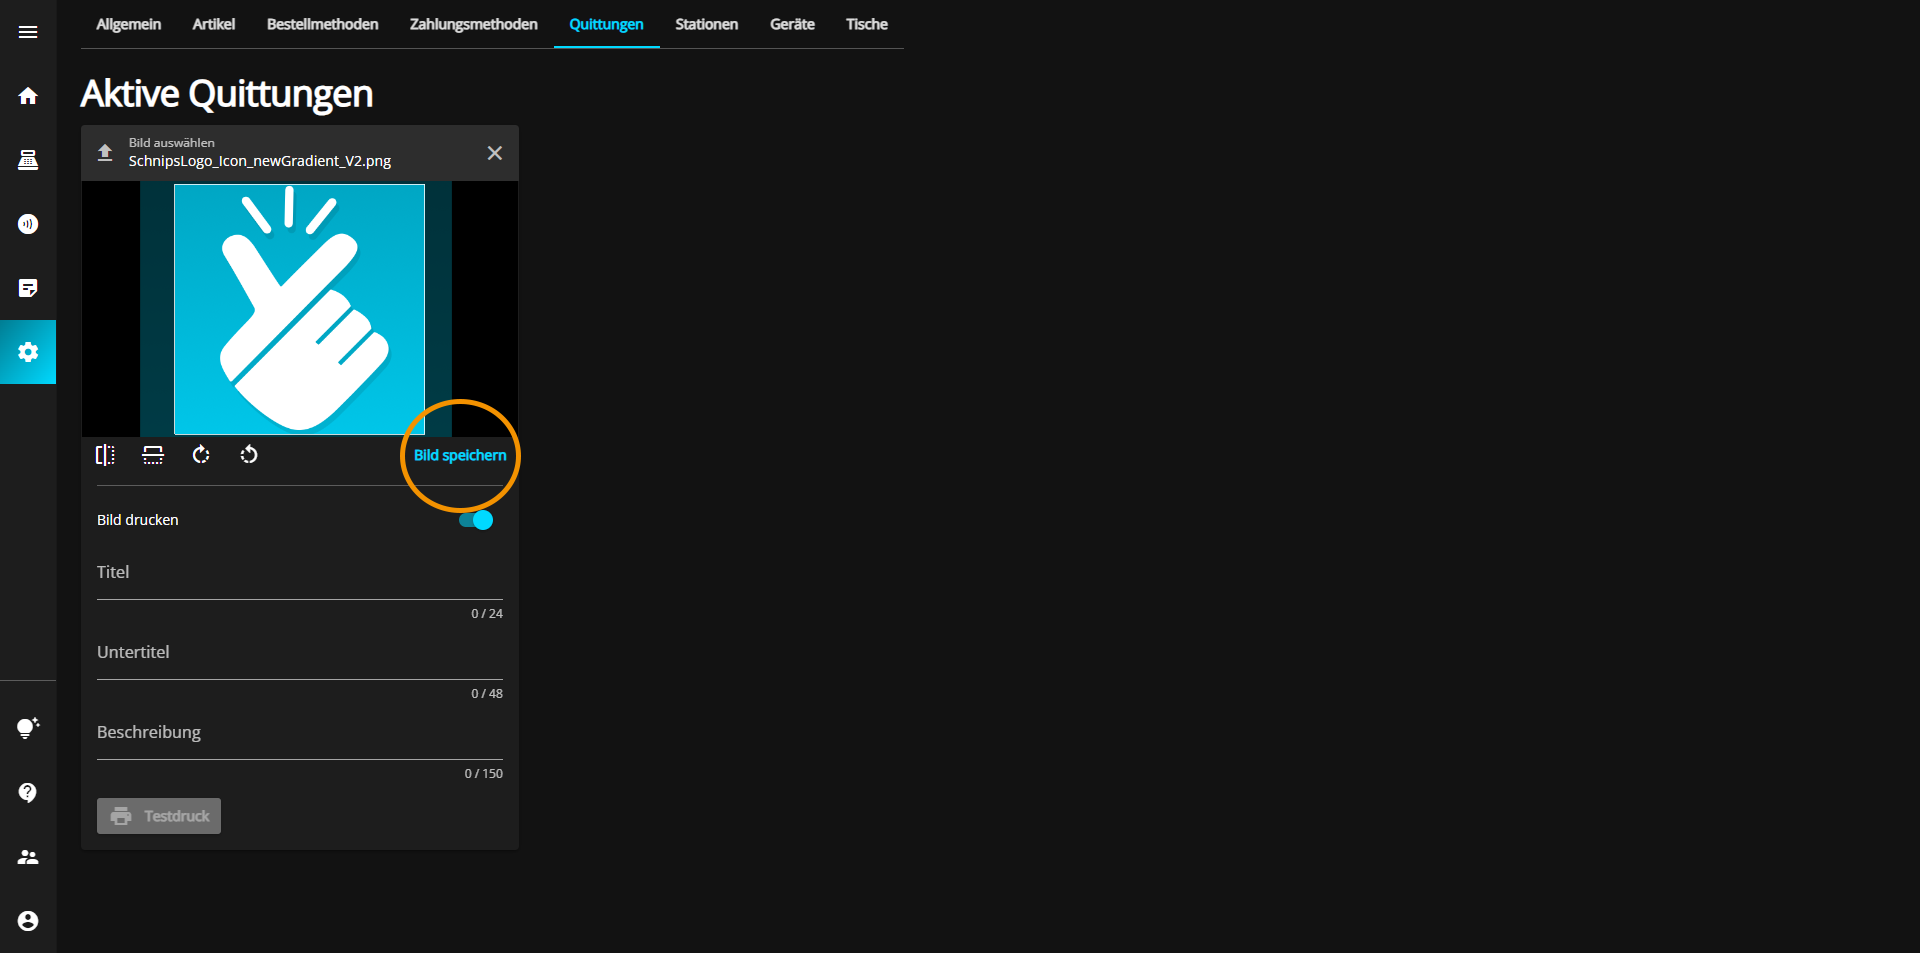
Once you have adjusted everything to your liking, click on the "Save image" button to save your image.
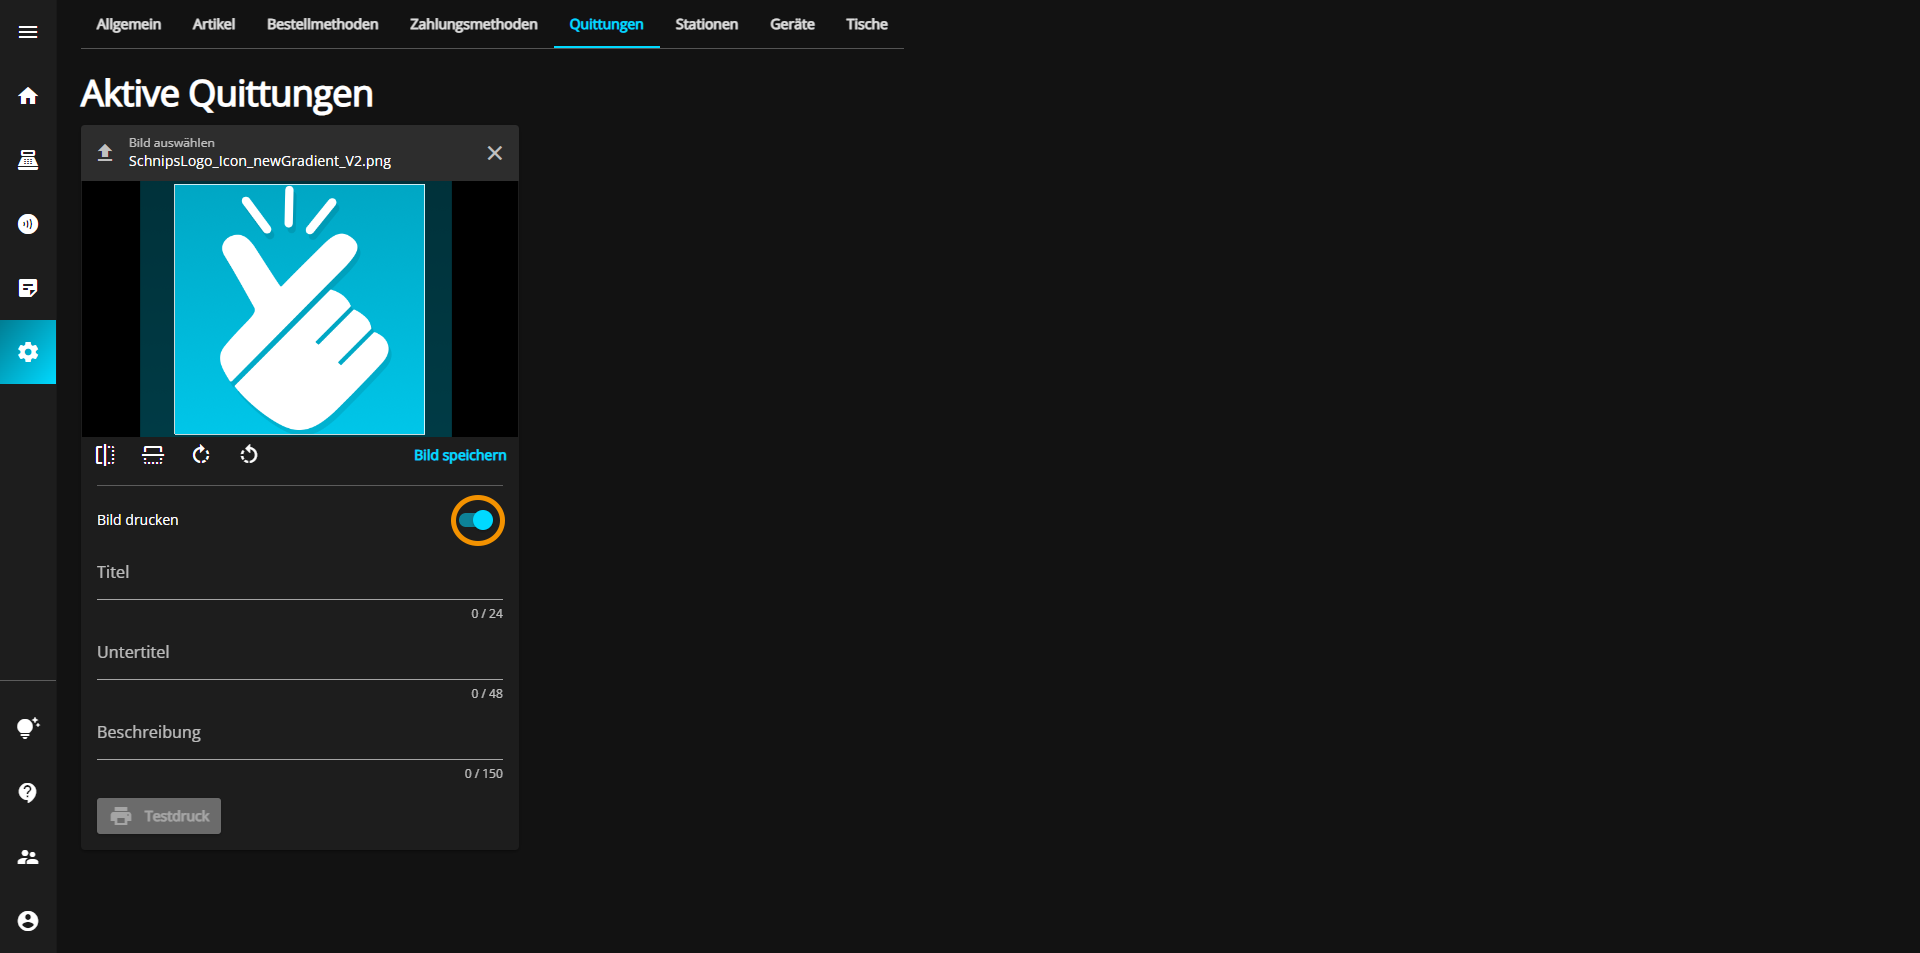
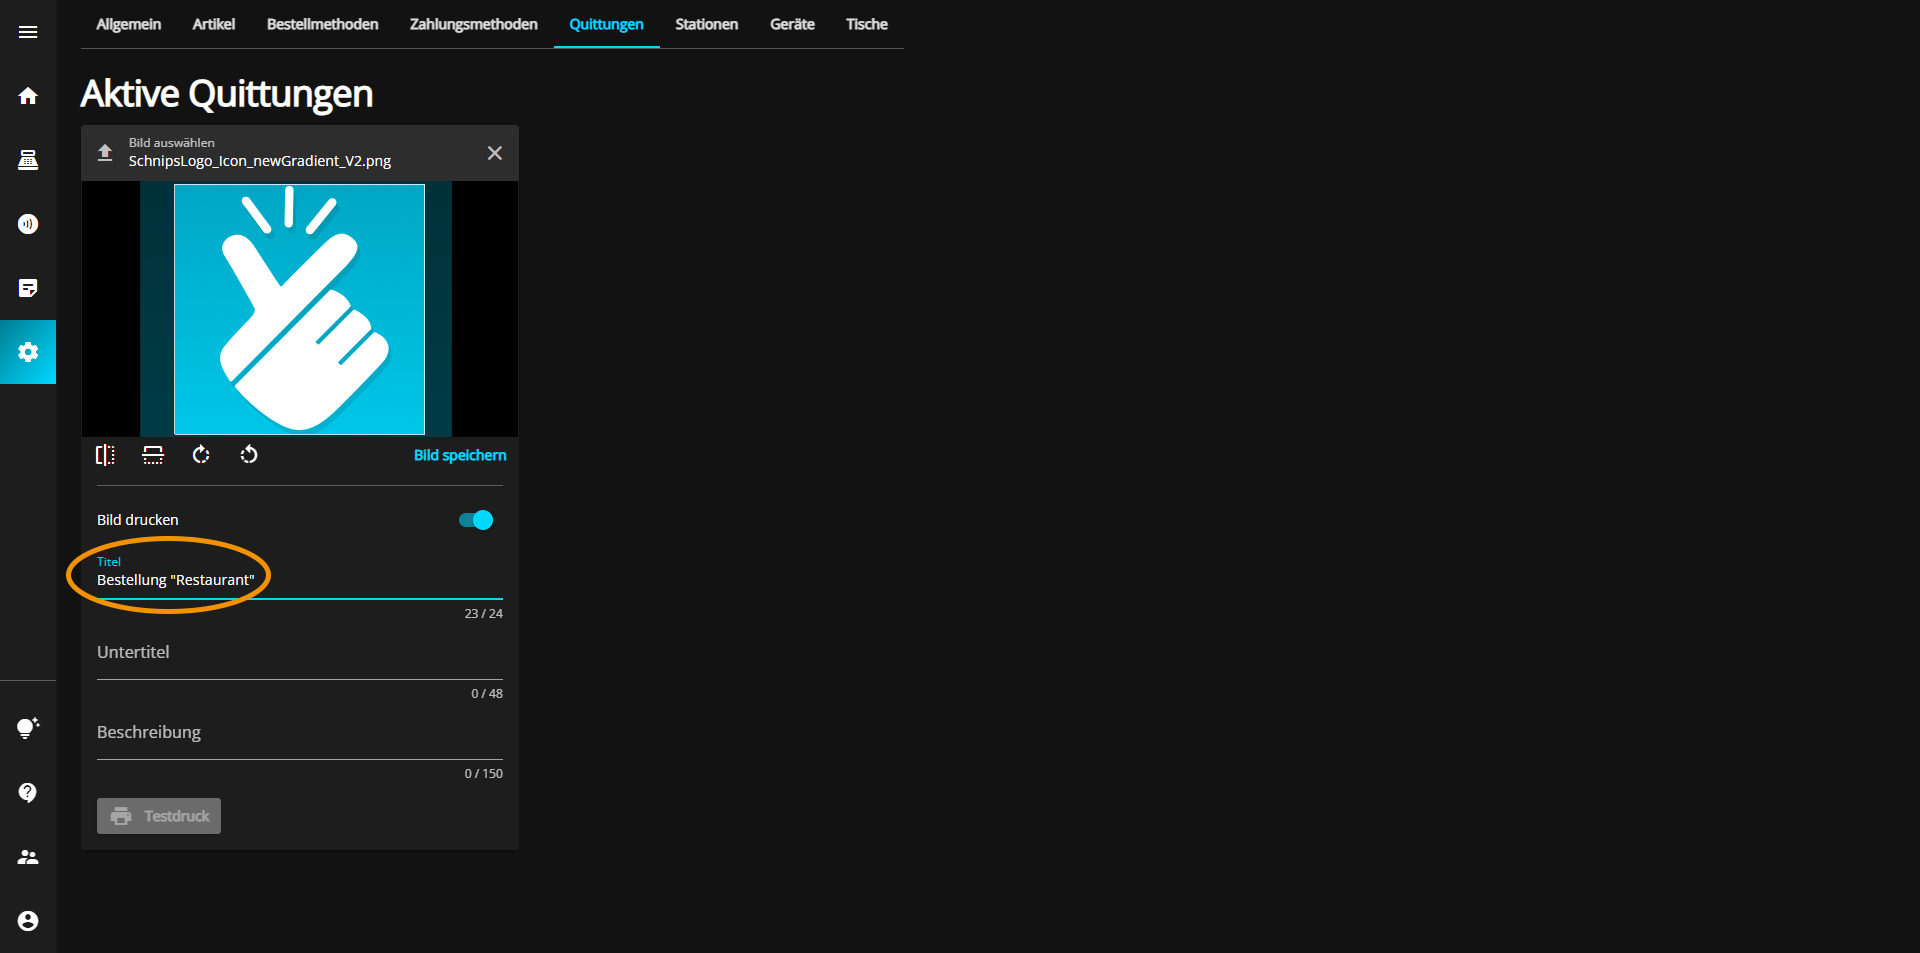
The receipt header can be activated (blue) or deactivated (gray) via the "Print image" button, depending on whether you want it to be visible on the receipt or not.
In the "Title" text box, you can give your receipt a suitable title by clicking in the text box and entering the desired title.
Under "Subtitle" you can specify your title a little more.
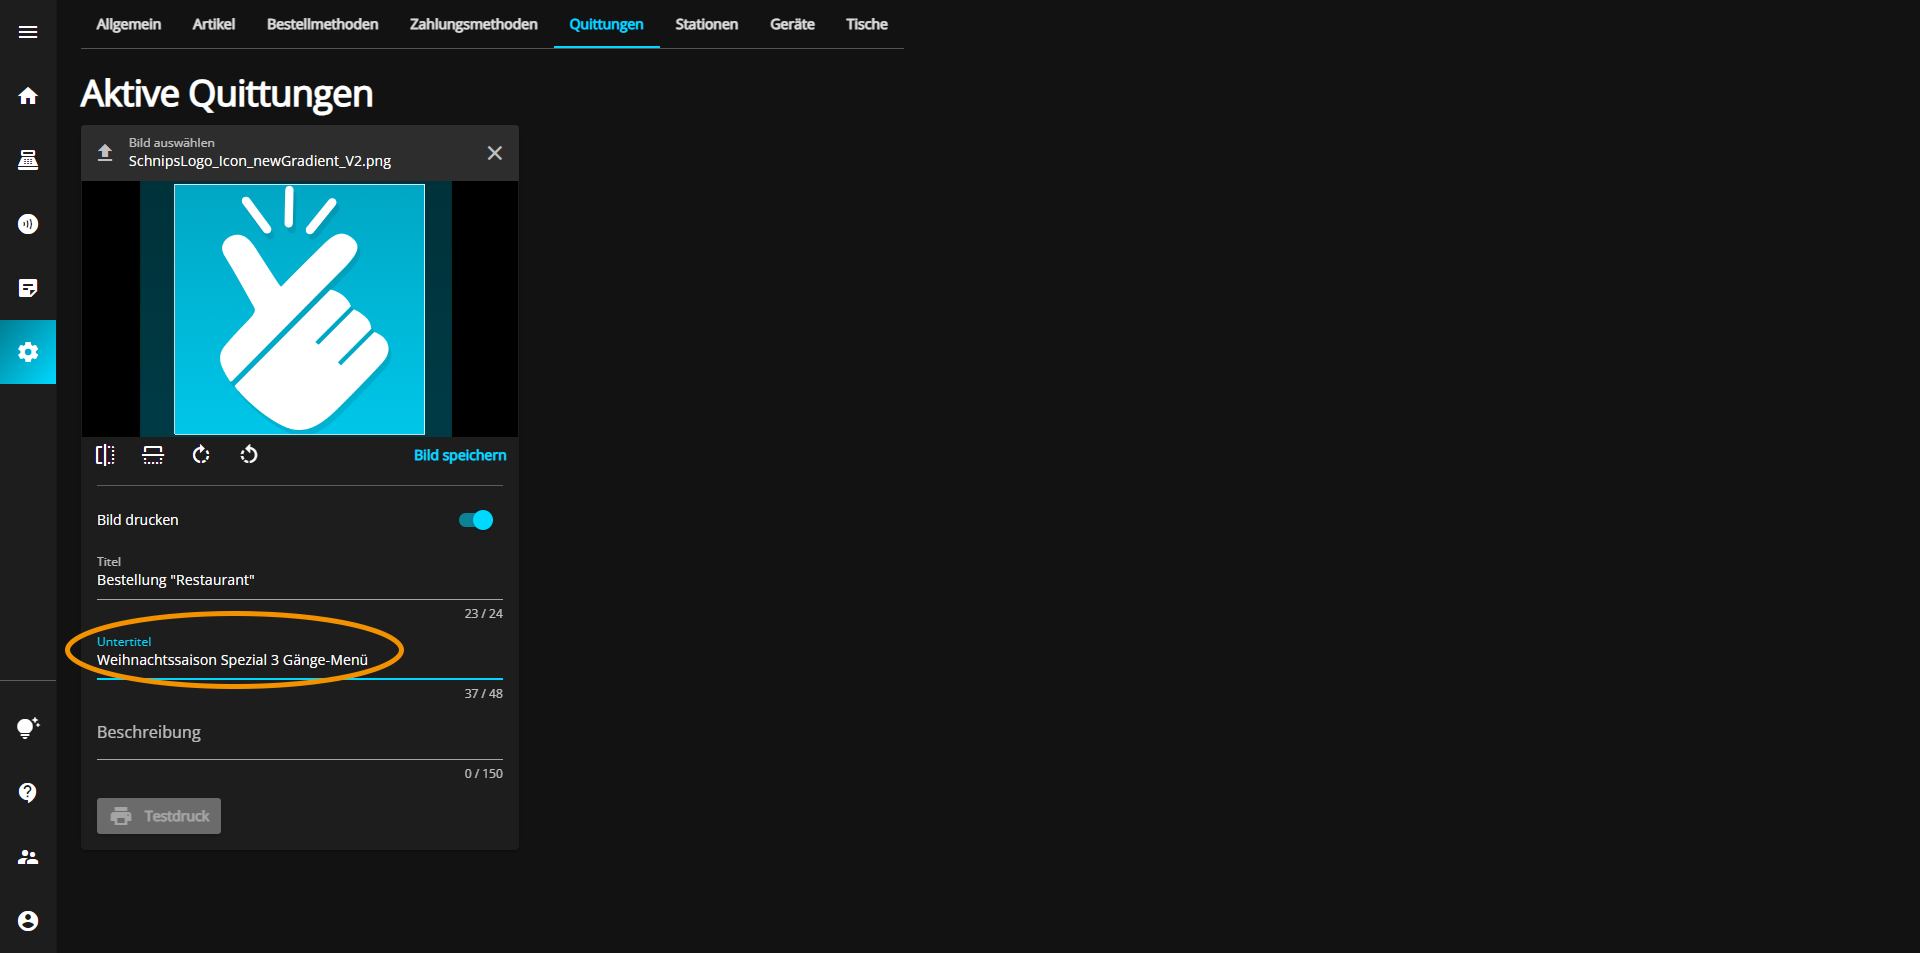
To do this, click in the "Subtitle" text box and enter more specific information.
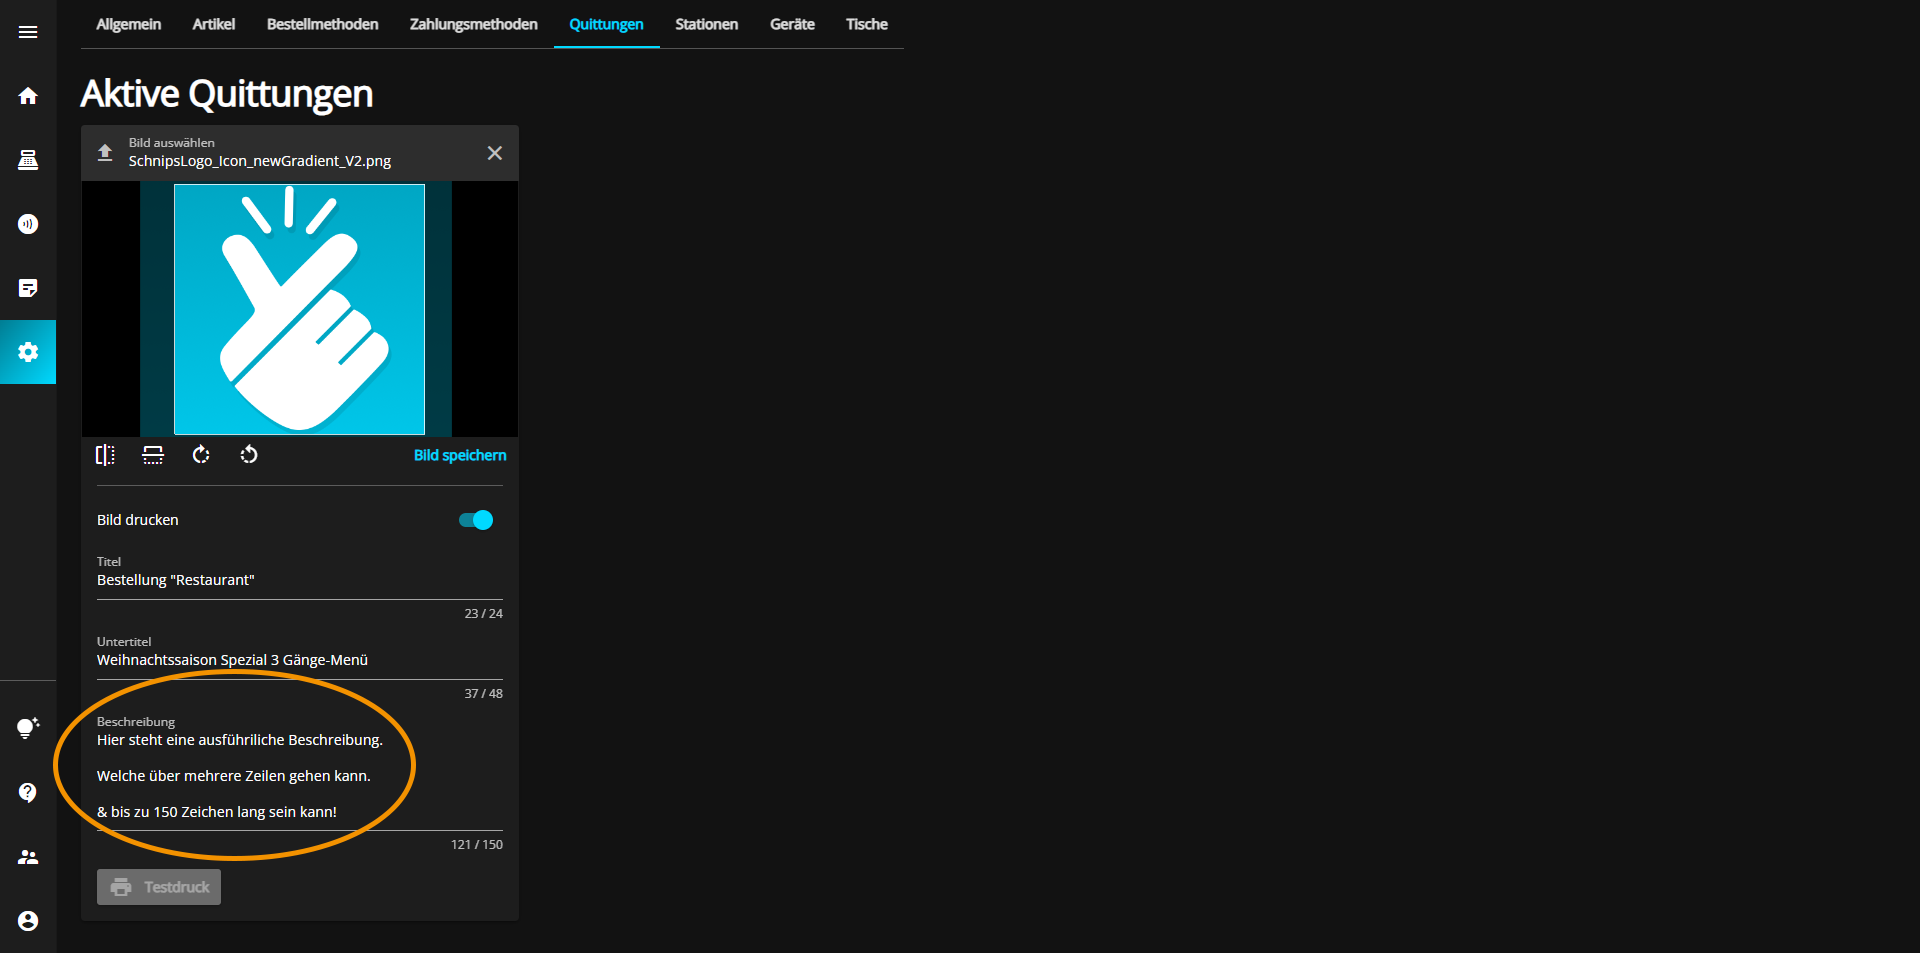
As a final piece of information, you can add a more detailed description to your receipt. To do this, click in the "Description" text box.
If you are satisfied with your information, you now have the option of printing a test receipt. All you have to do is click on the "Test print" button.

This option is of course only possible if a corresponding device is in operation. If you want to check the device settings, go to the "Devices" article or click on the following link.

